DIY Painted Tile
I’ve been finishing the final room makeover in my basement – the bathroom! I challenged myself to do this makeover without removing any of the tile that’s already in here. I gave the vanity in here a makeover and now, I’m going to do DIY painted tile!
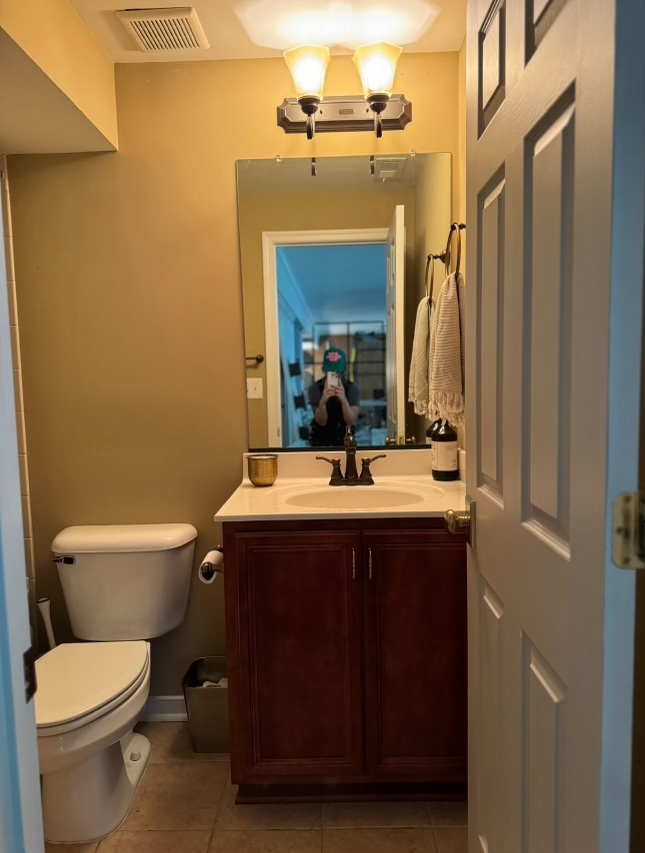
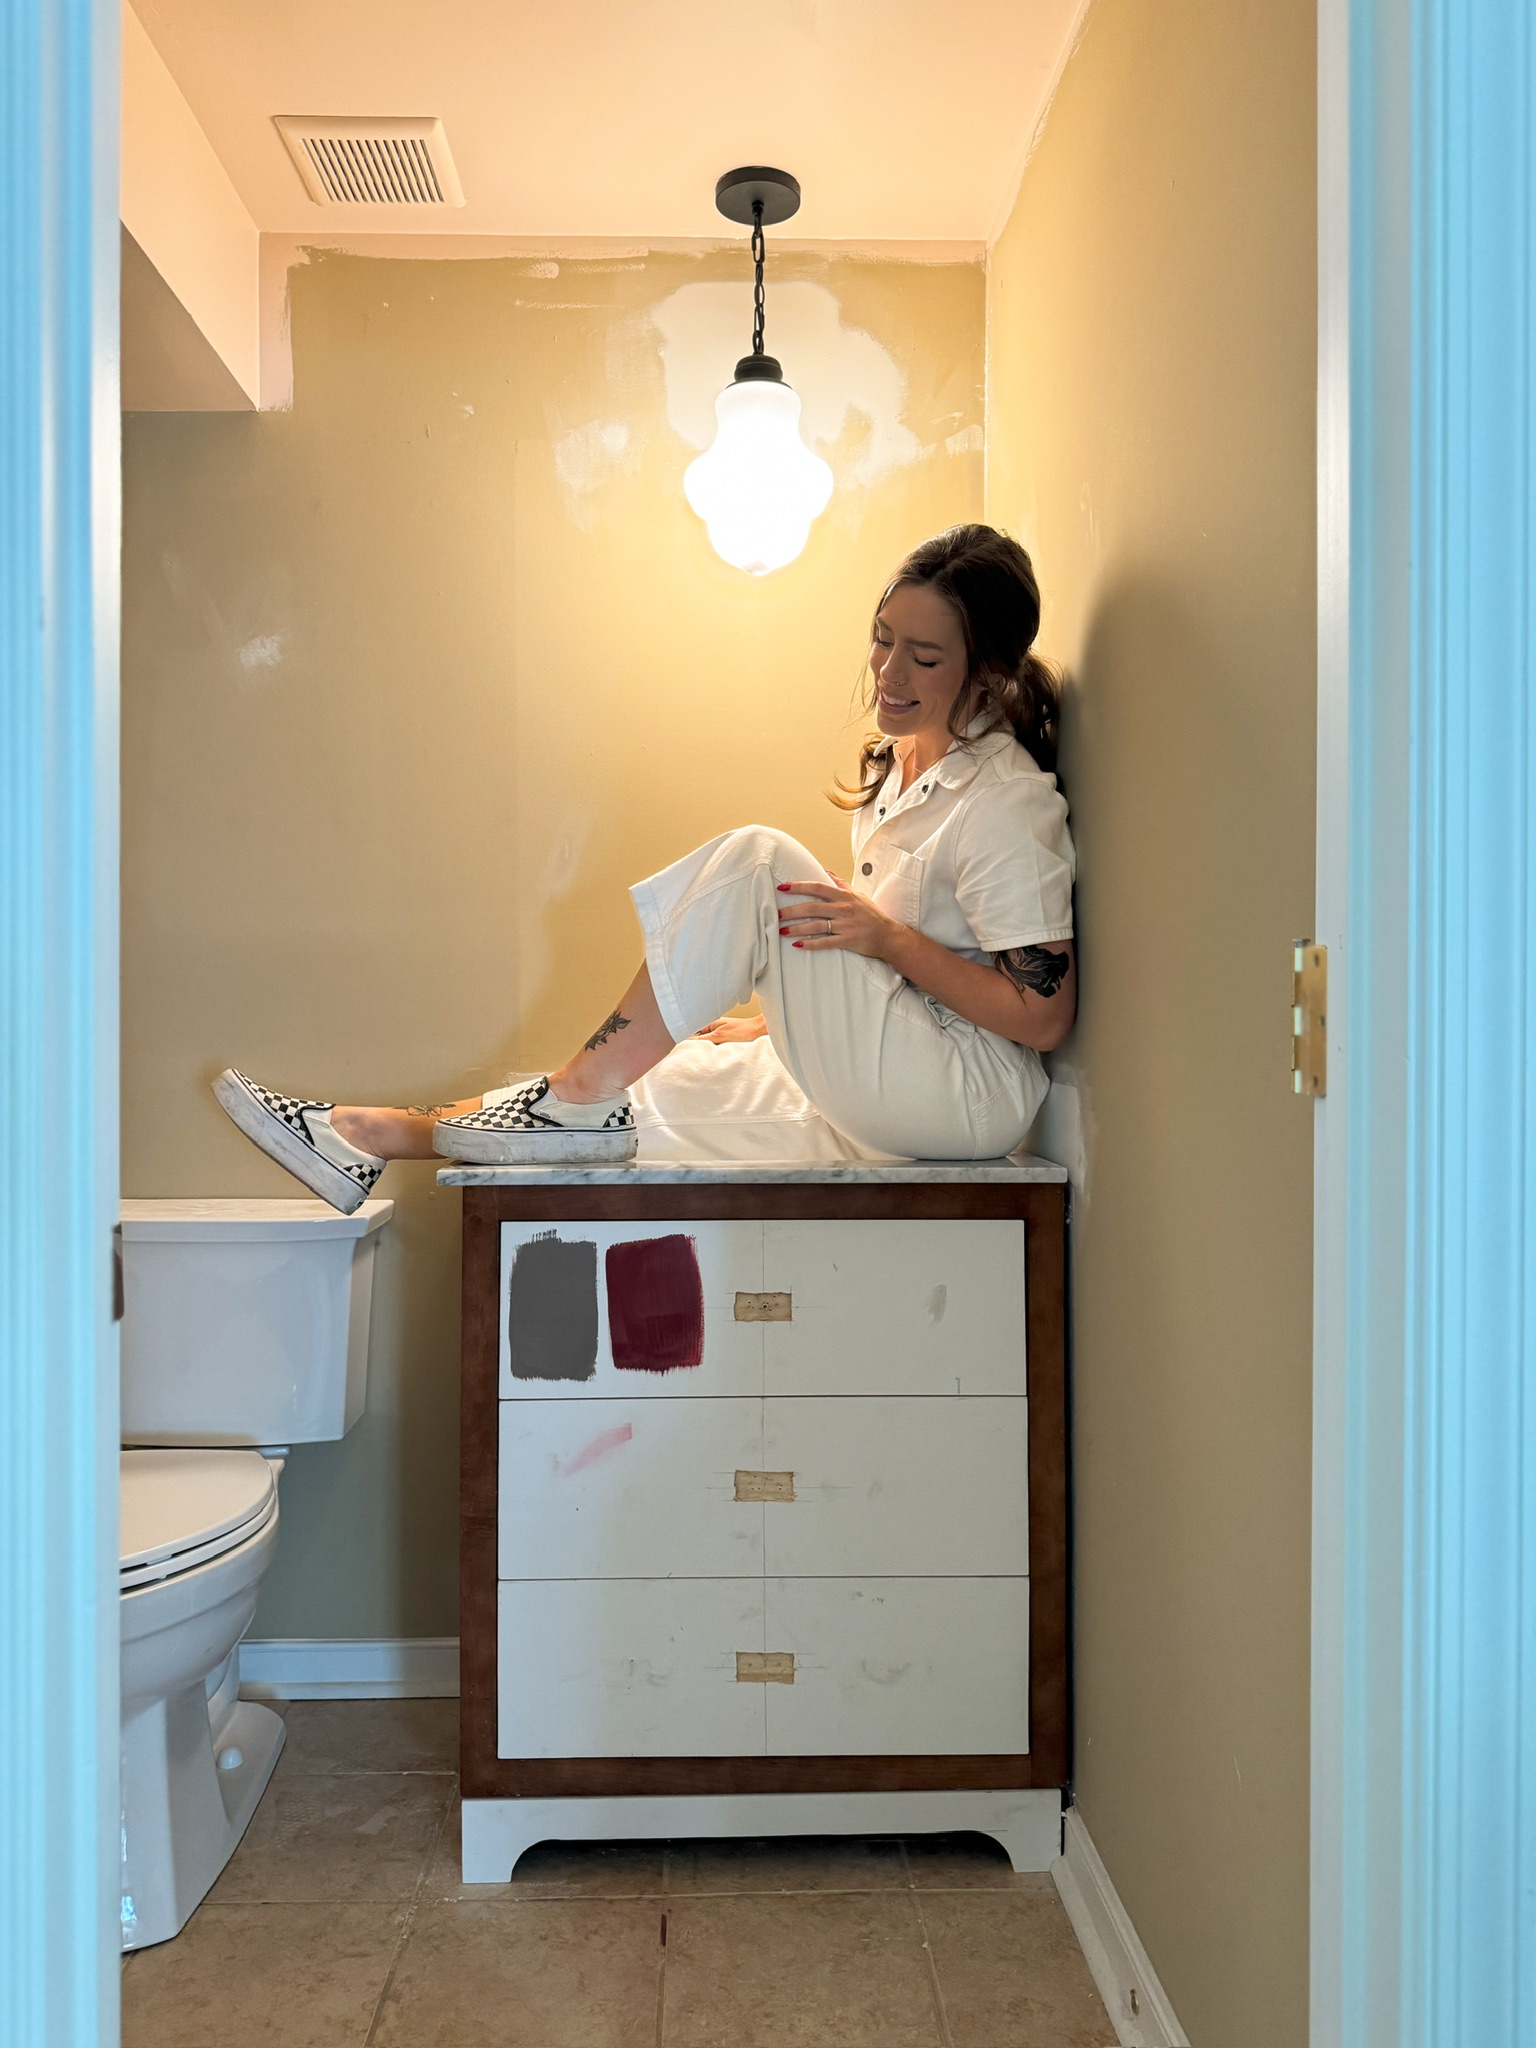
As a reminder, here’s where we started in the basement (left) and where we left off (right):
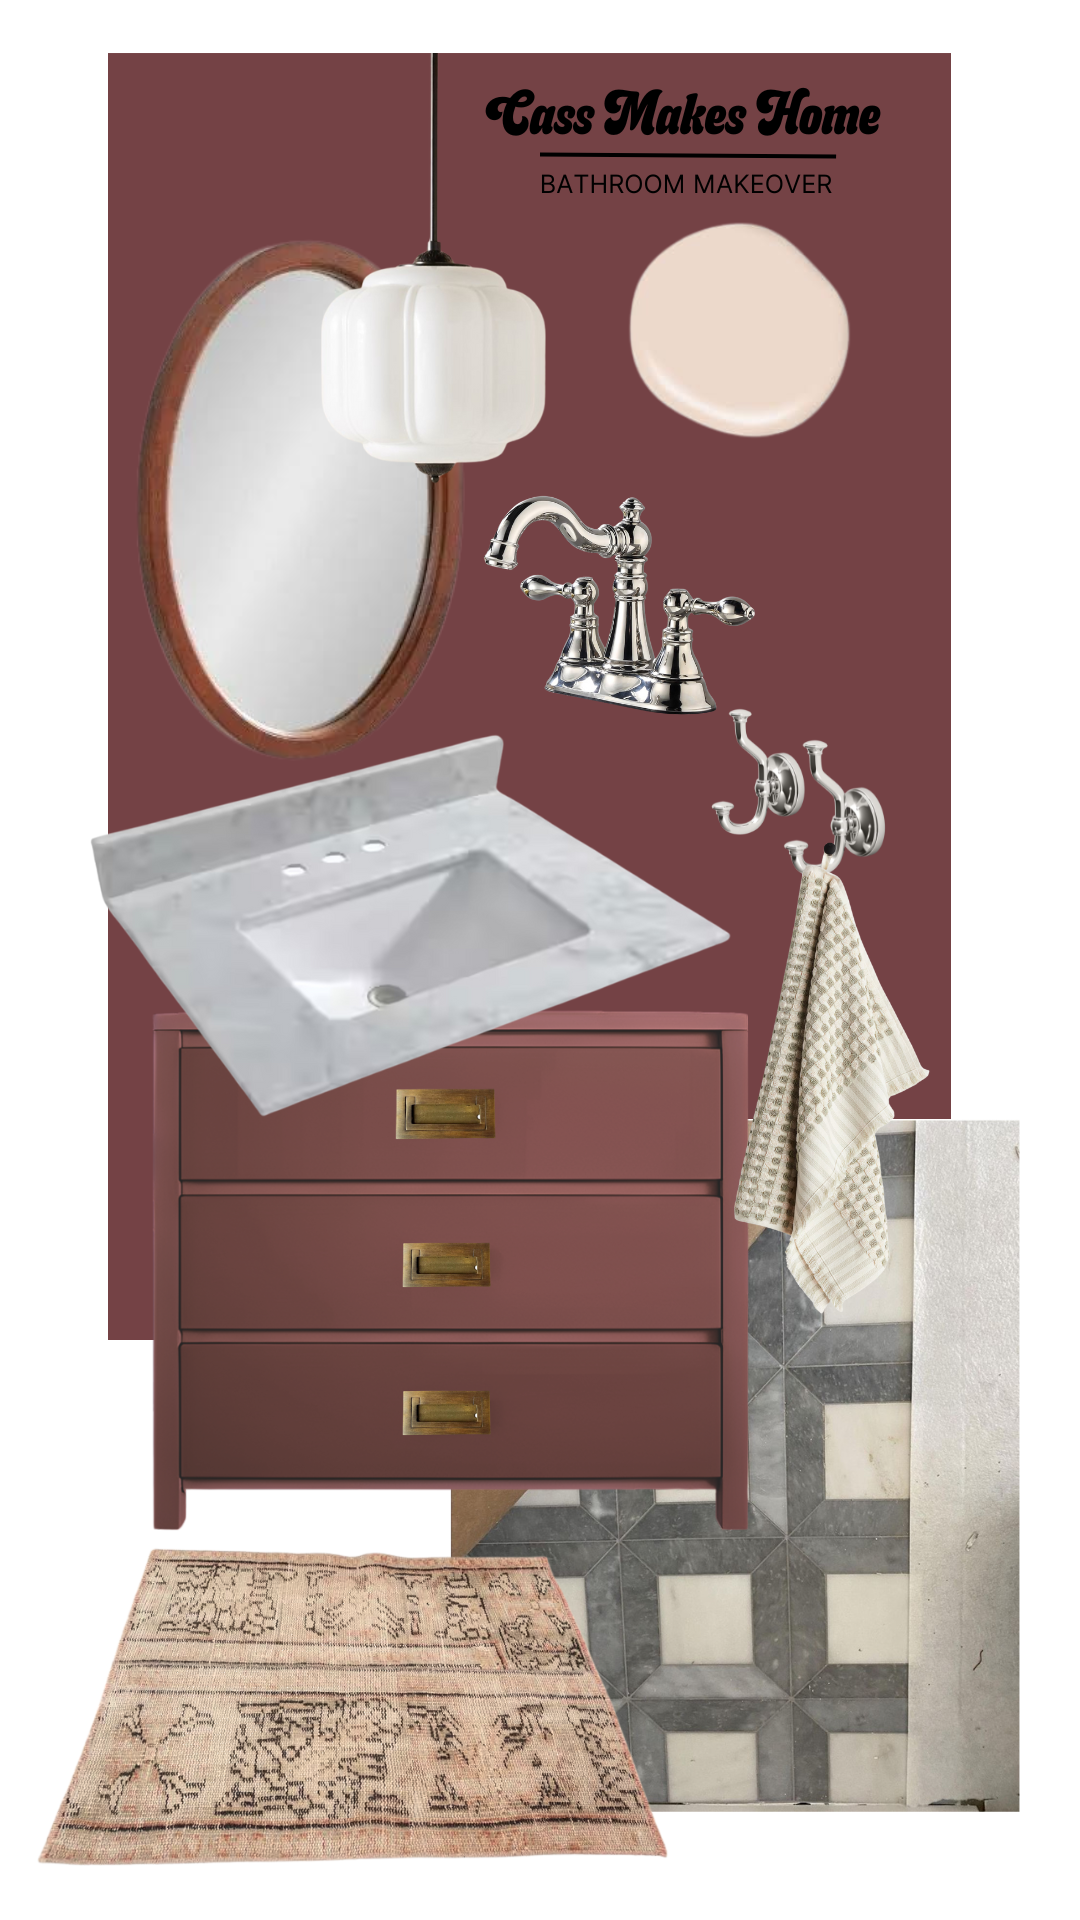
I initially fell in love with the tile I put on my mood board. I decided to try and PAINT mine to look like this. Am I nuts for this? Do you think I can pull it off?!!?
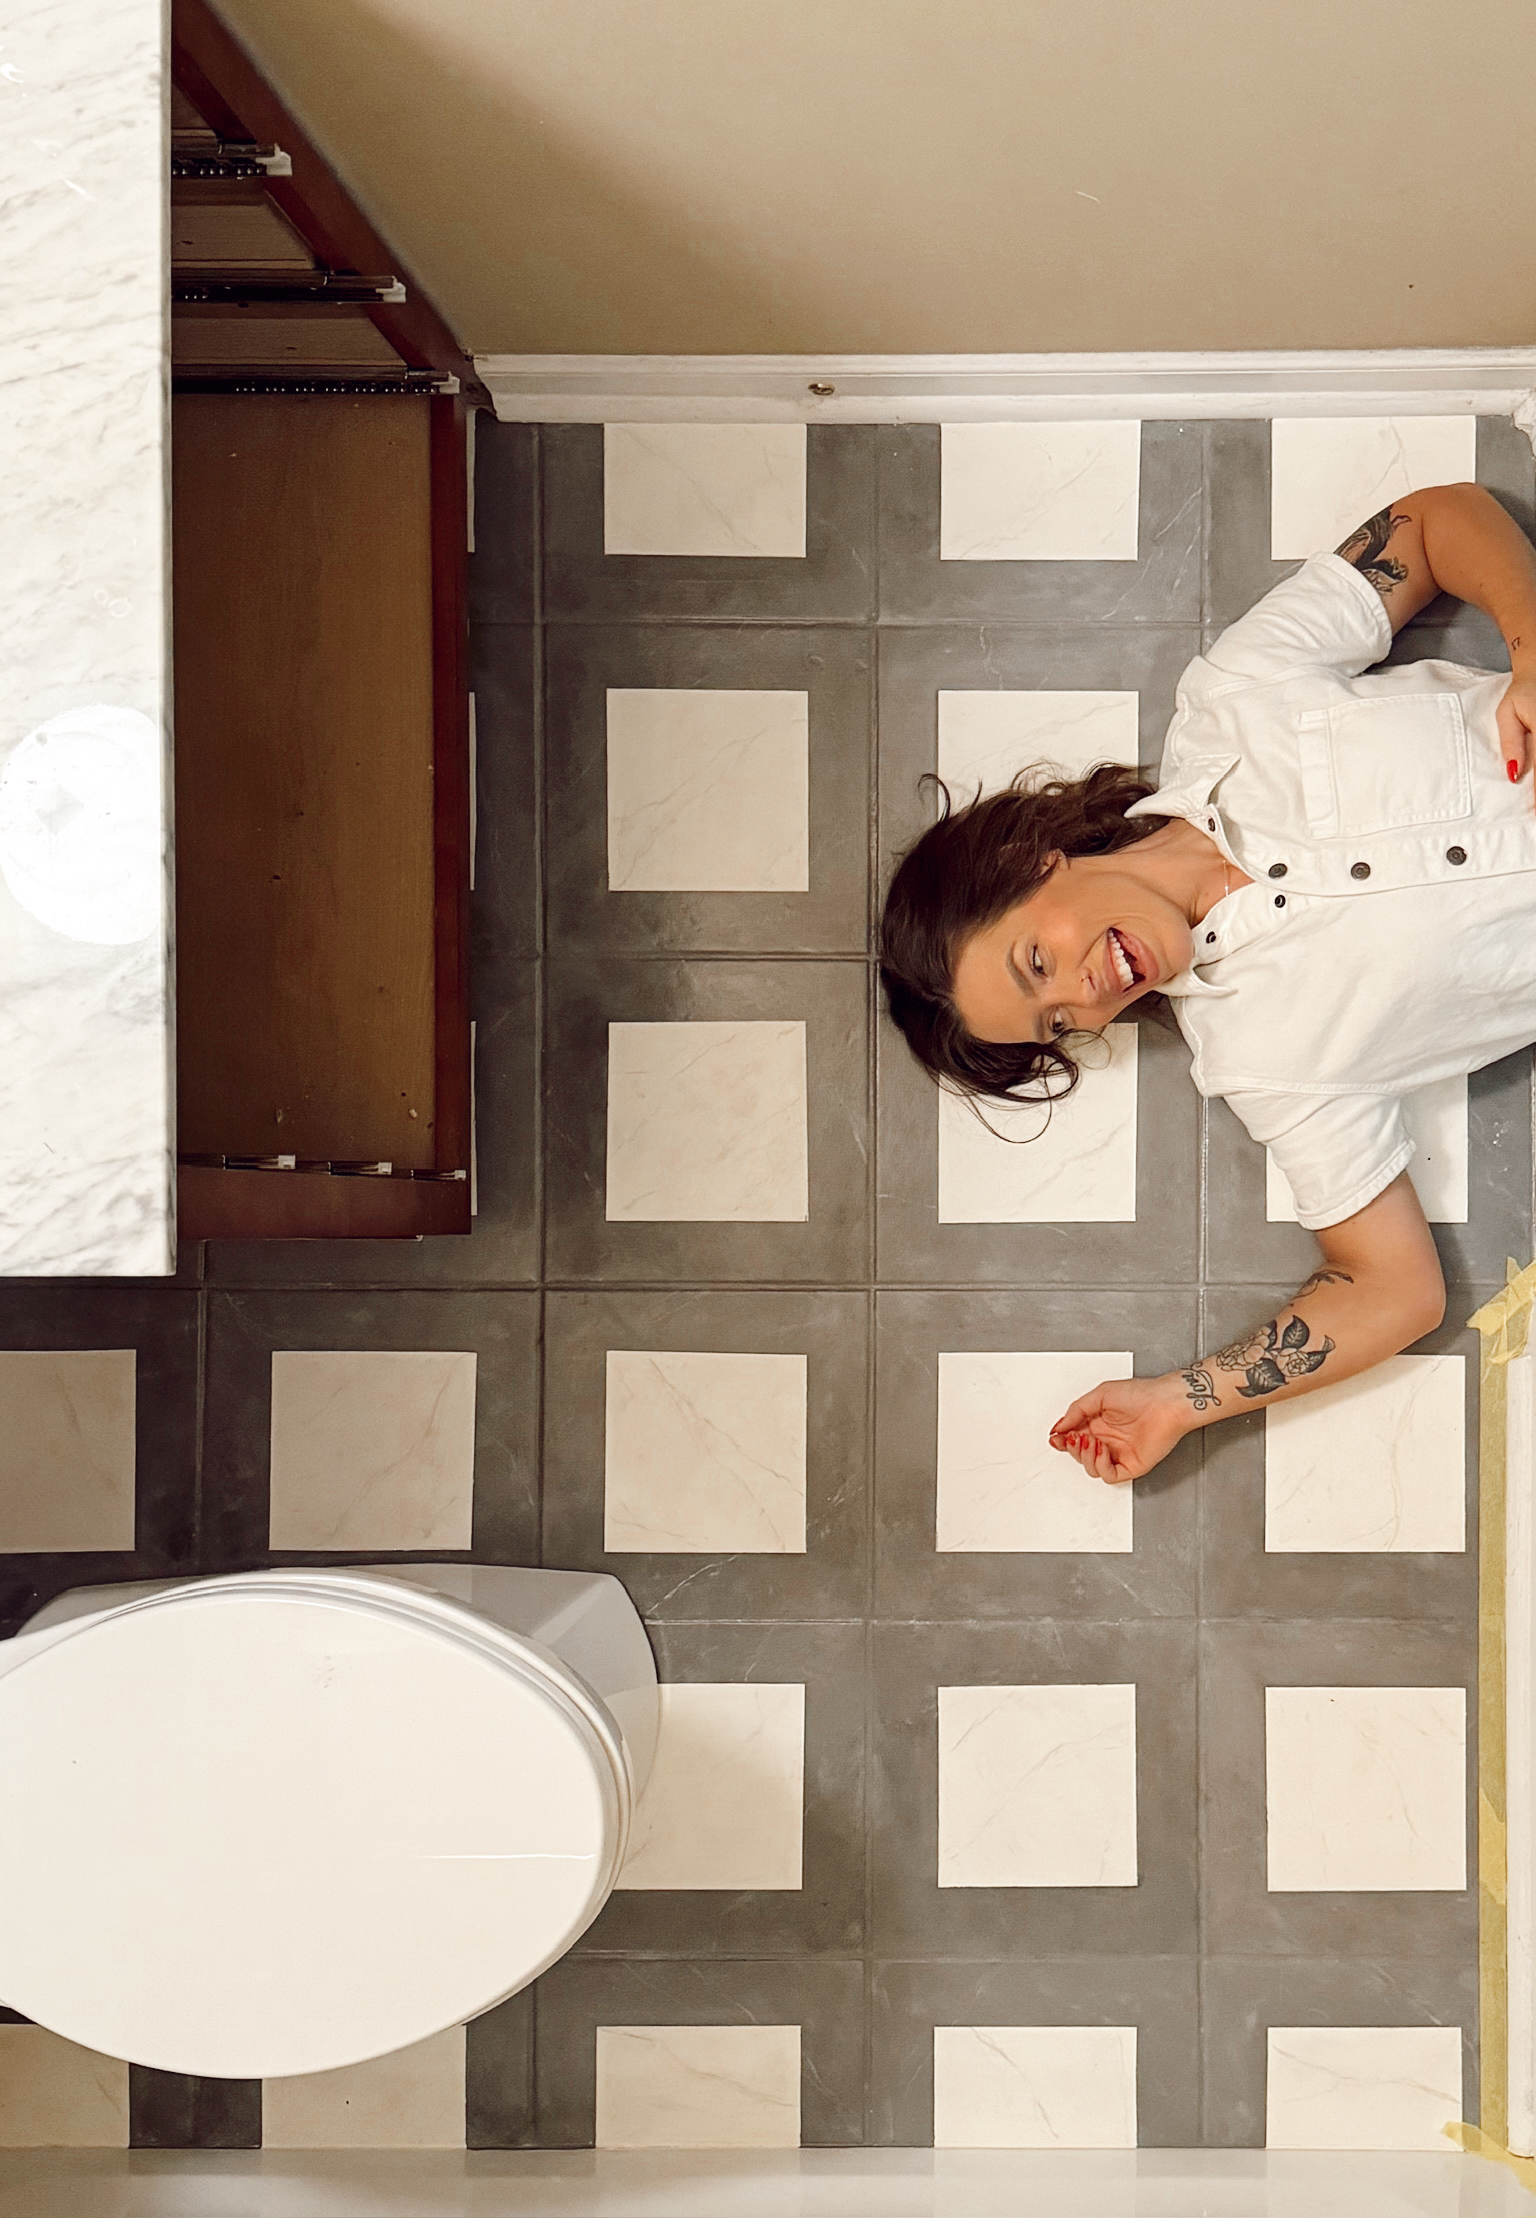
*Spoiler alert – I got a lot of messages of skeptical viewers…but I totally did it and it looks awesome. So, here’s how I did it!
Prep
To prep, I cleaned the tile. Then, I lightly sanded it to rough up the surface to give the paint something to stick to.
Base Layer
No turning back now! I used a warm white for the first layer. I used Dwil Tub & Tile Paint that is actually made for tile floors which is so cool. Then for the second layer, I mixed in a cooler white.
Stone Effect
After I painted two full coats of the white, I started making the stone effect on the center of the white. I really just went with the flow on this. I dabbed a wet paper towel around in gray paint and then blotted it around. There was really no method here – I was just super sloppy with it all.
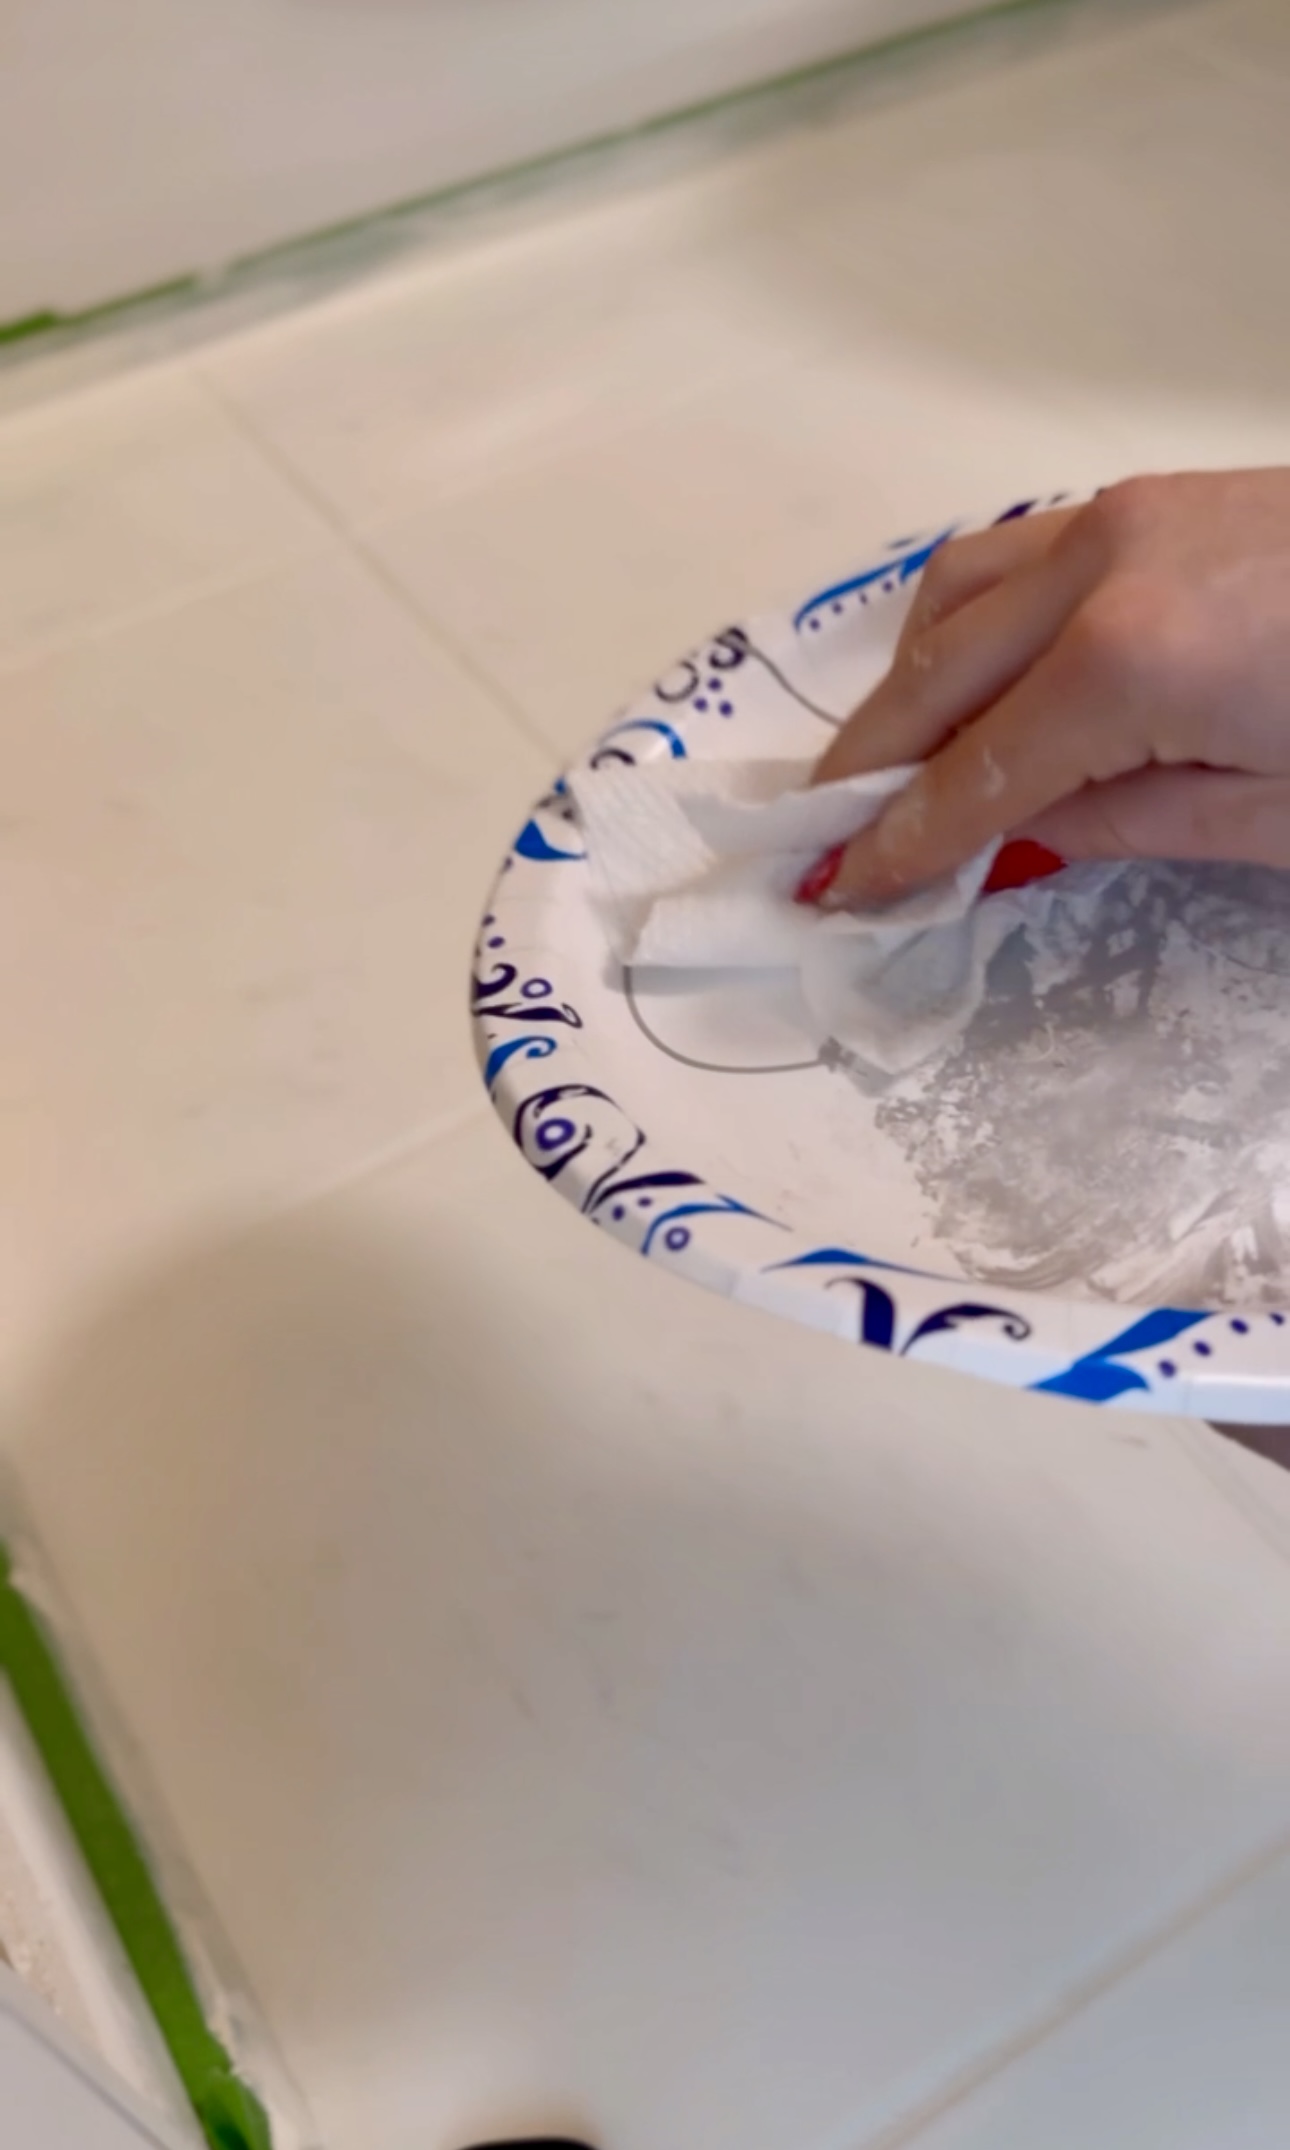
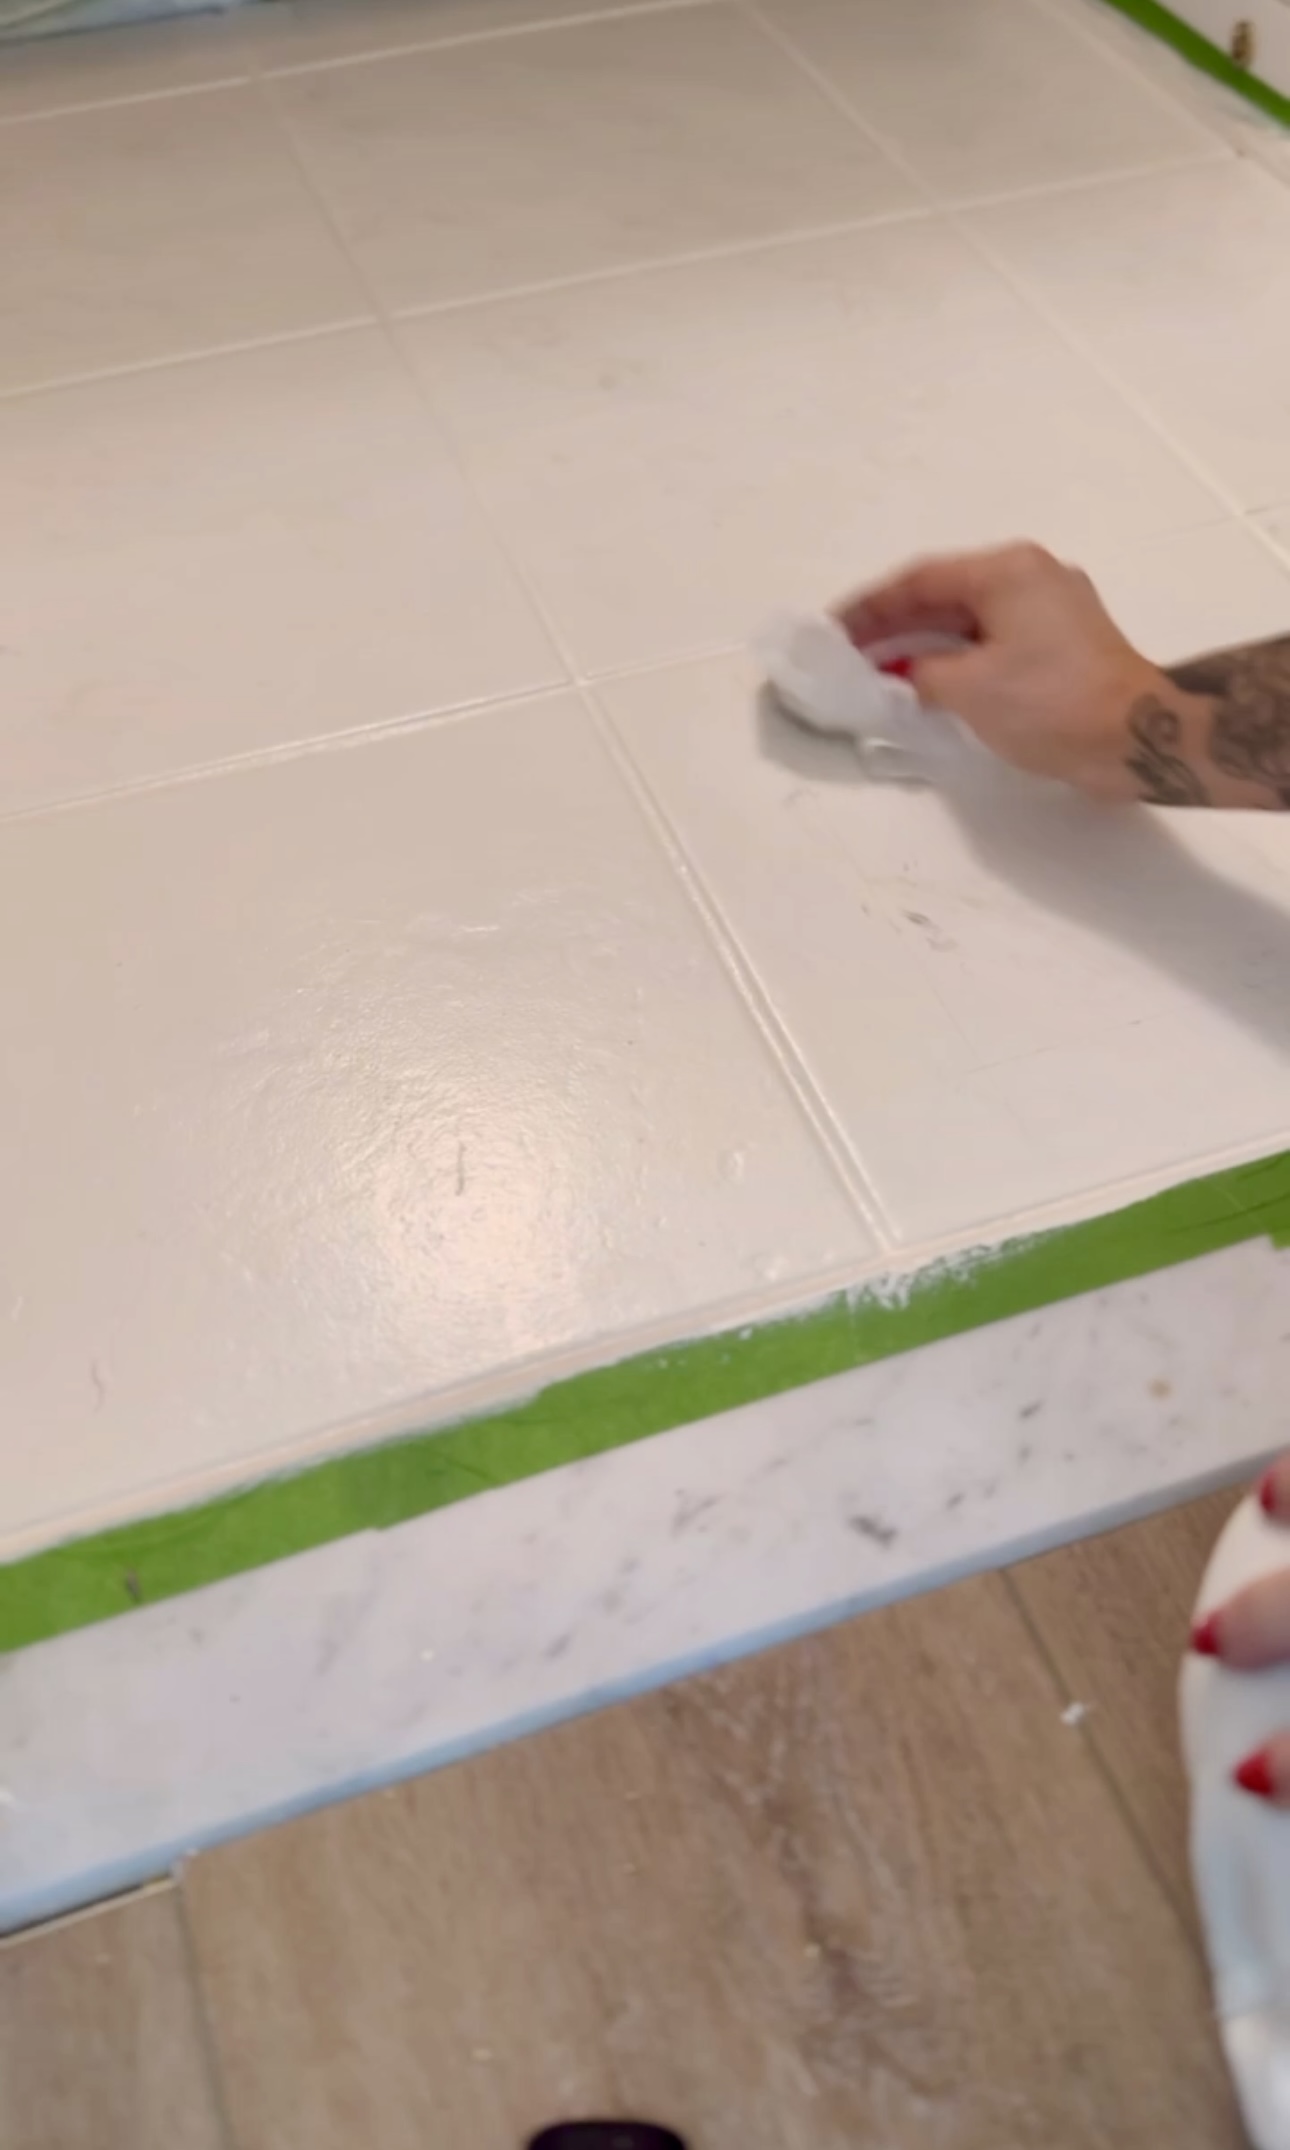
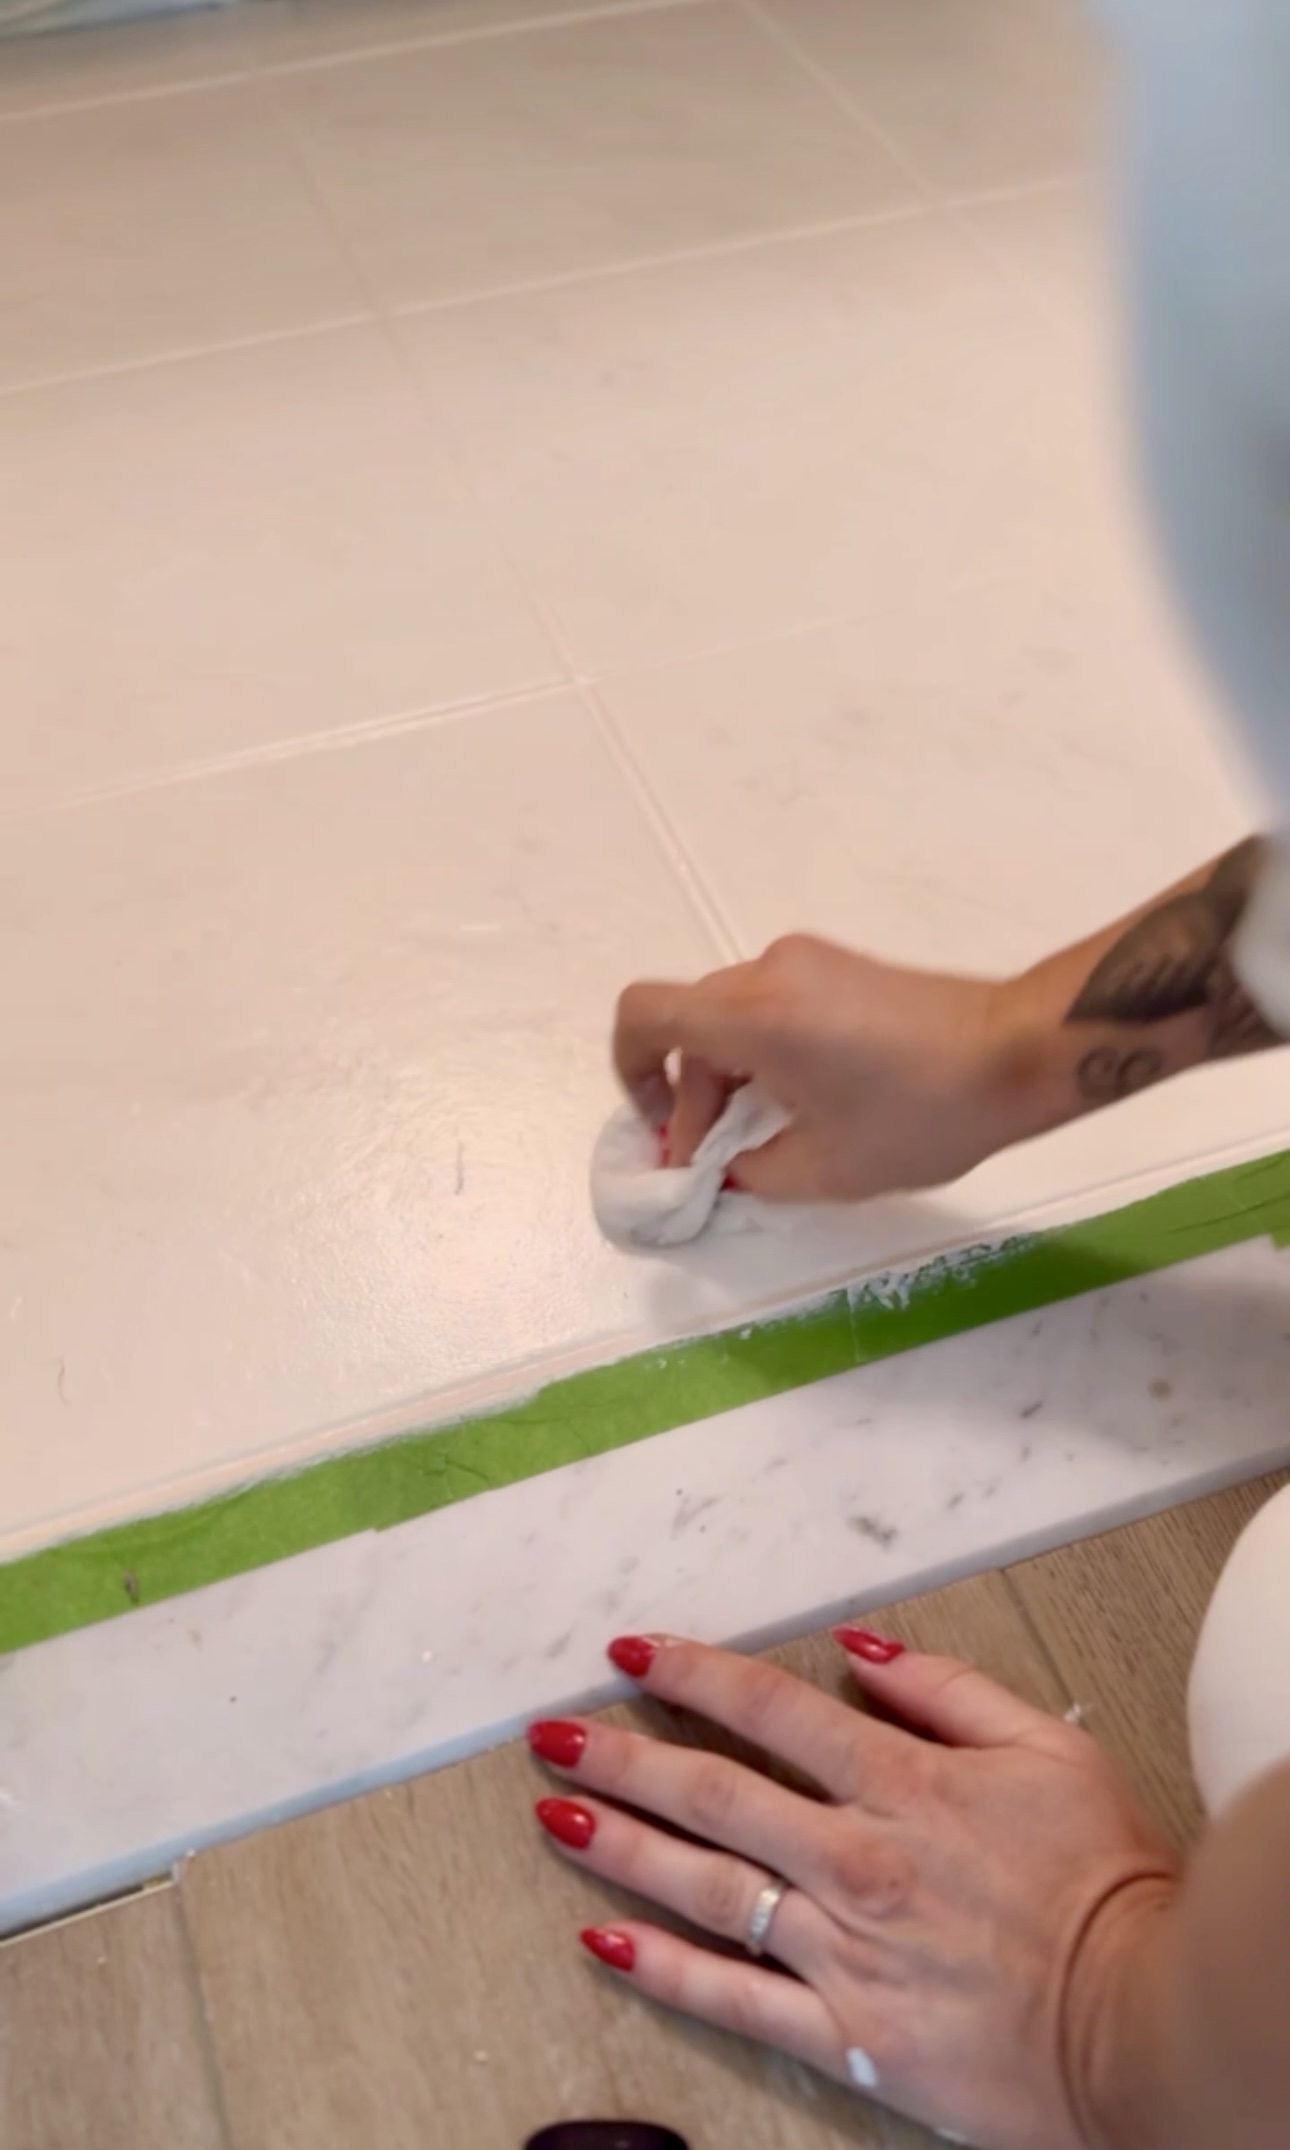
Border Paint
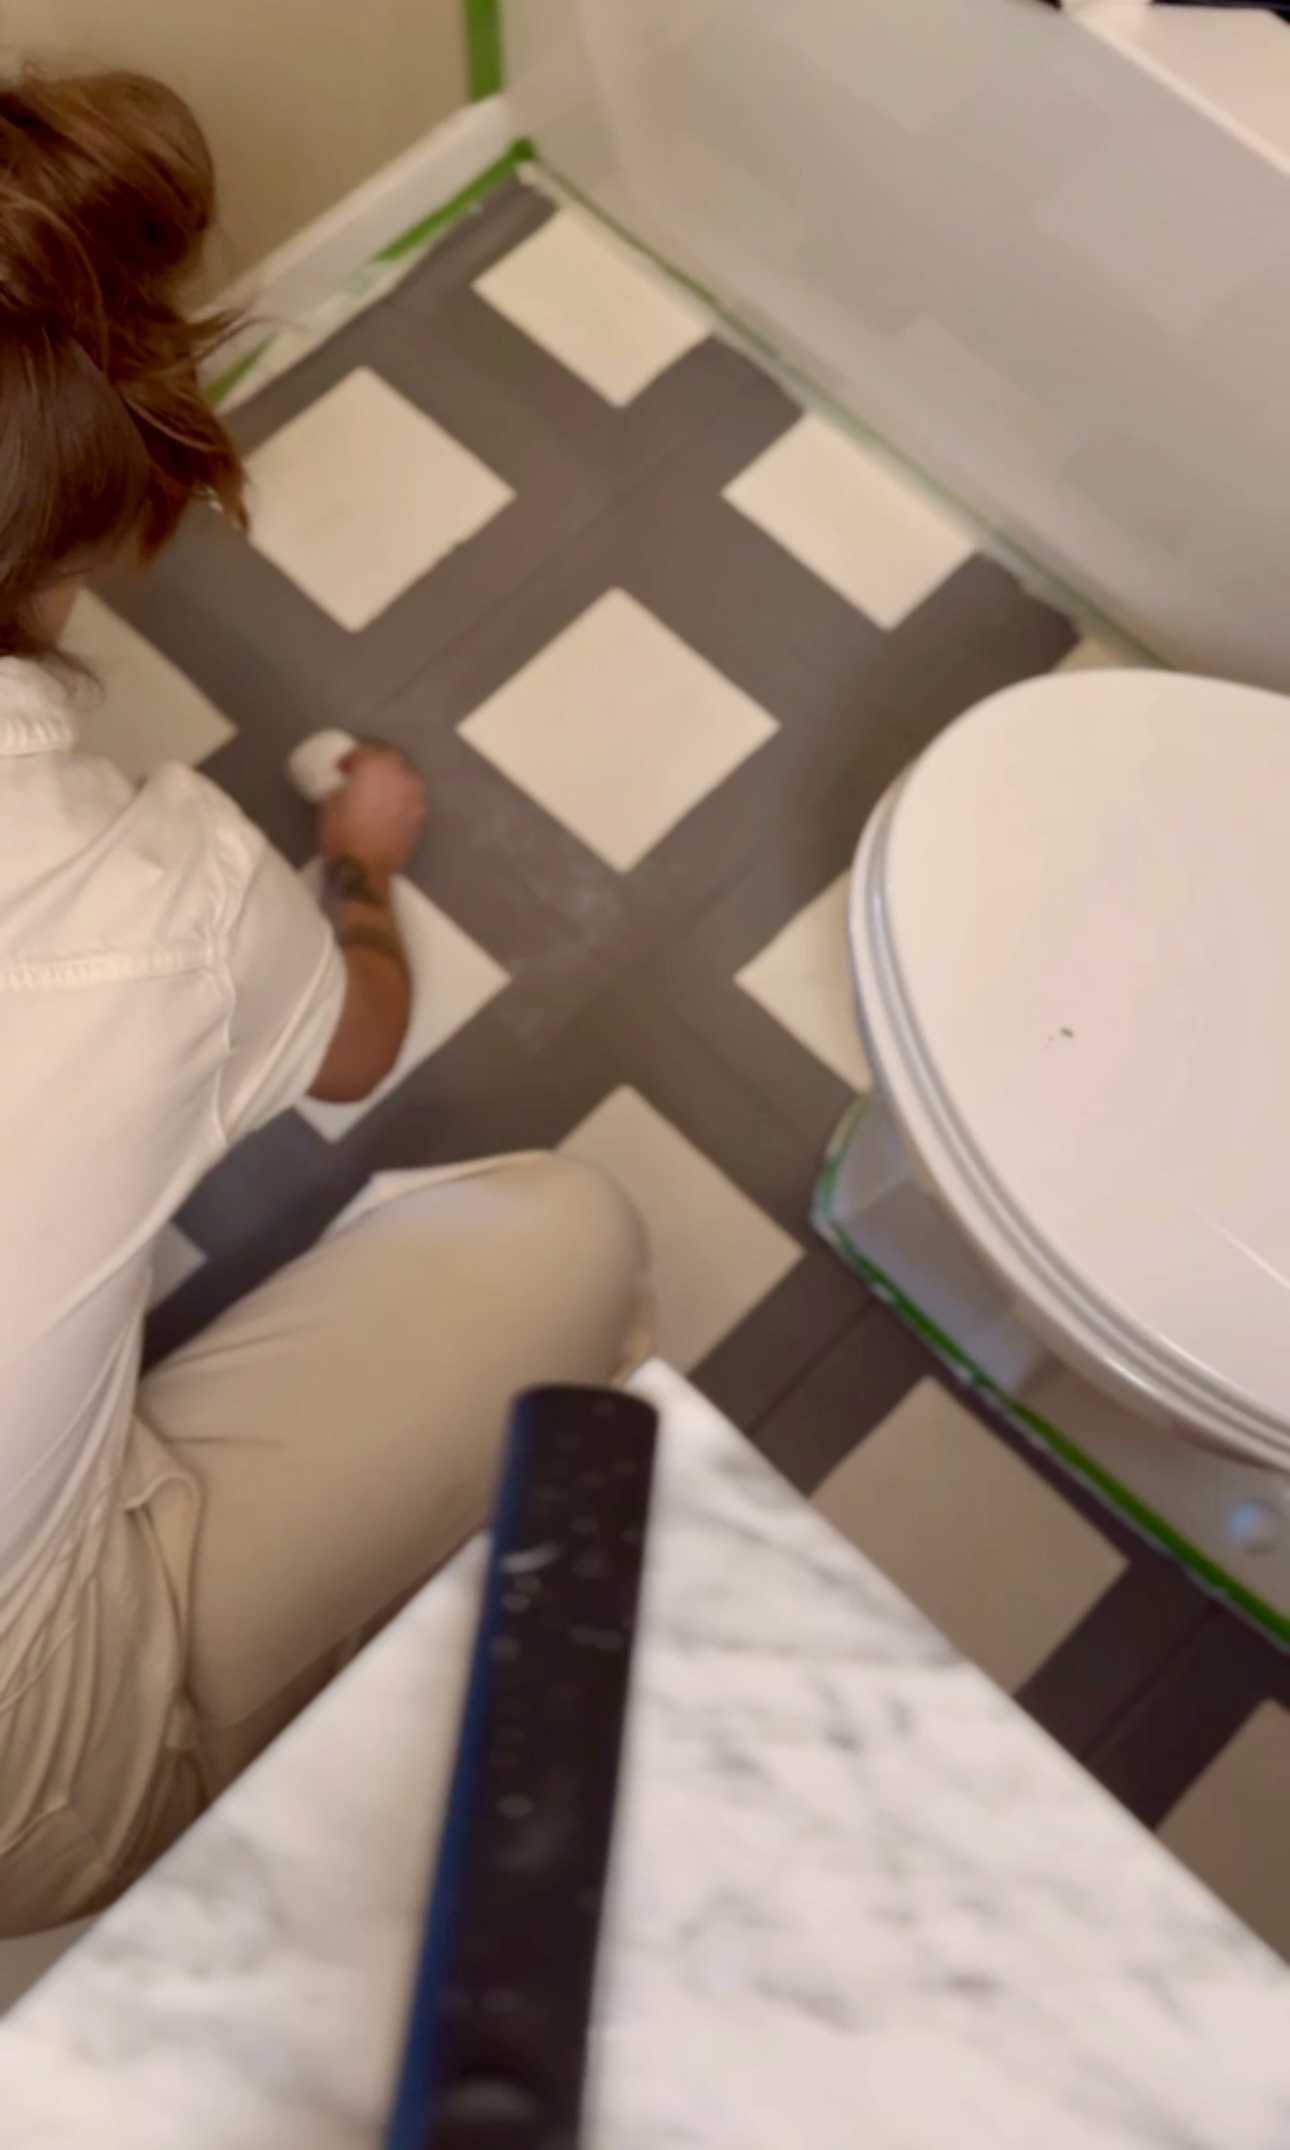
Then, I drew out my squares where I’d paint the gray.
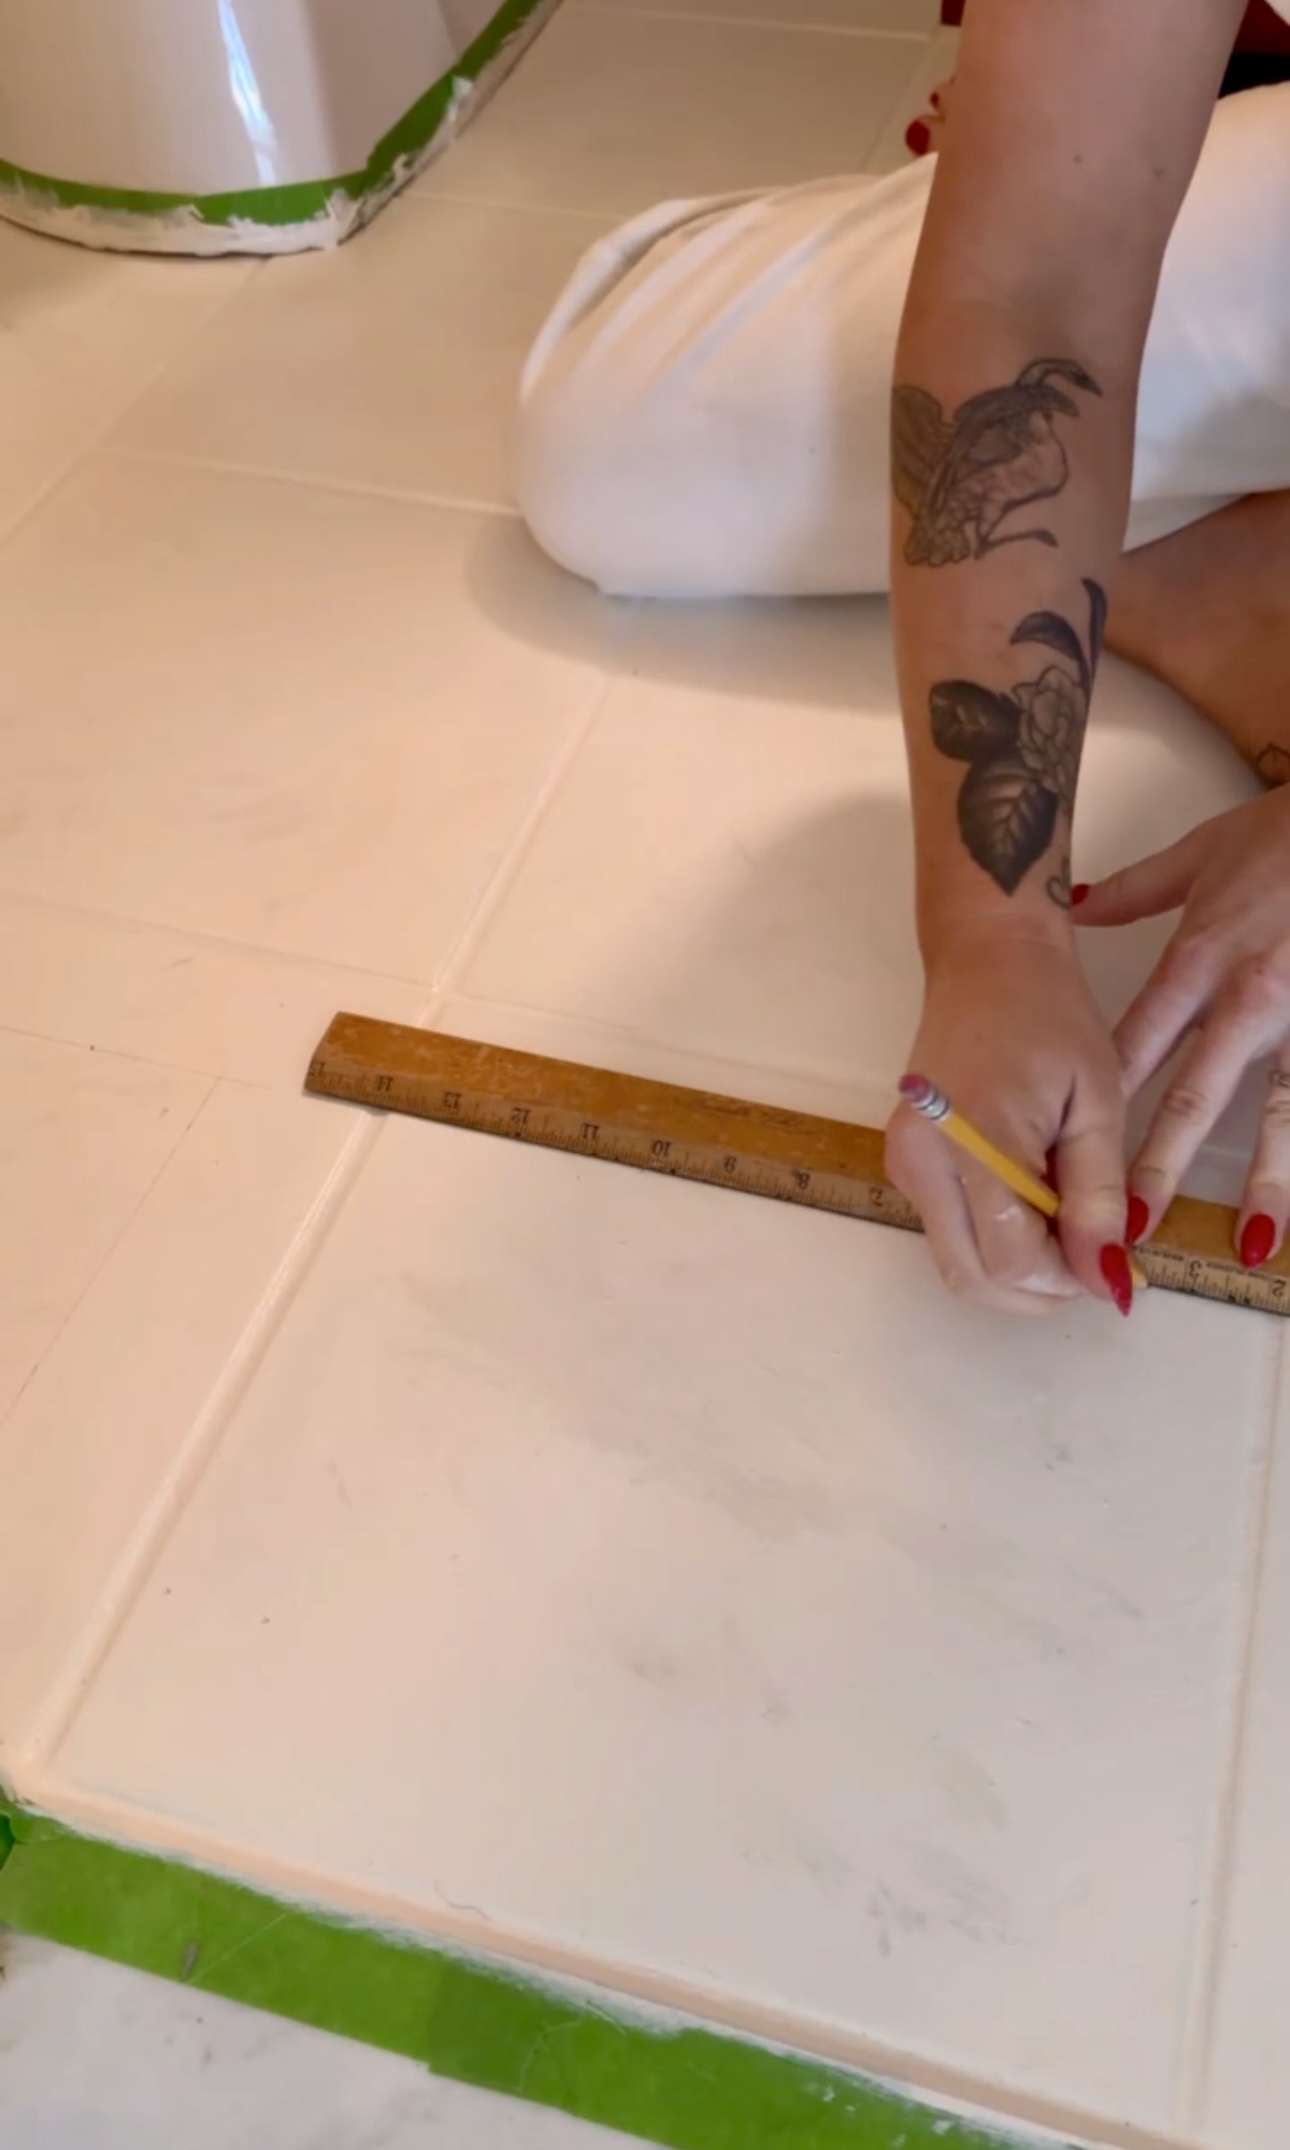
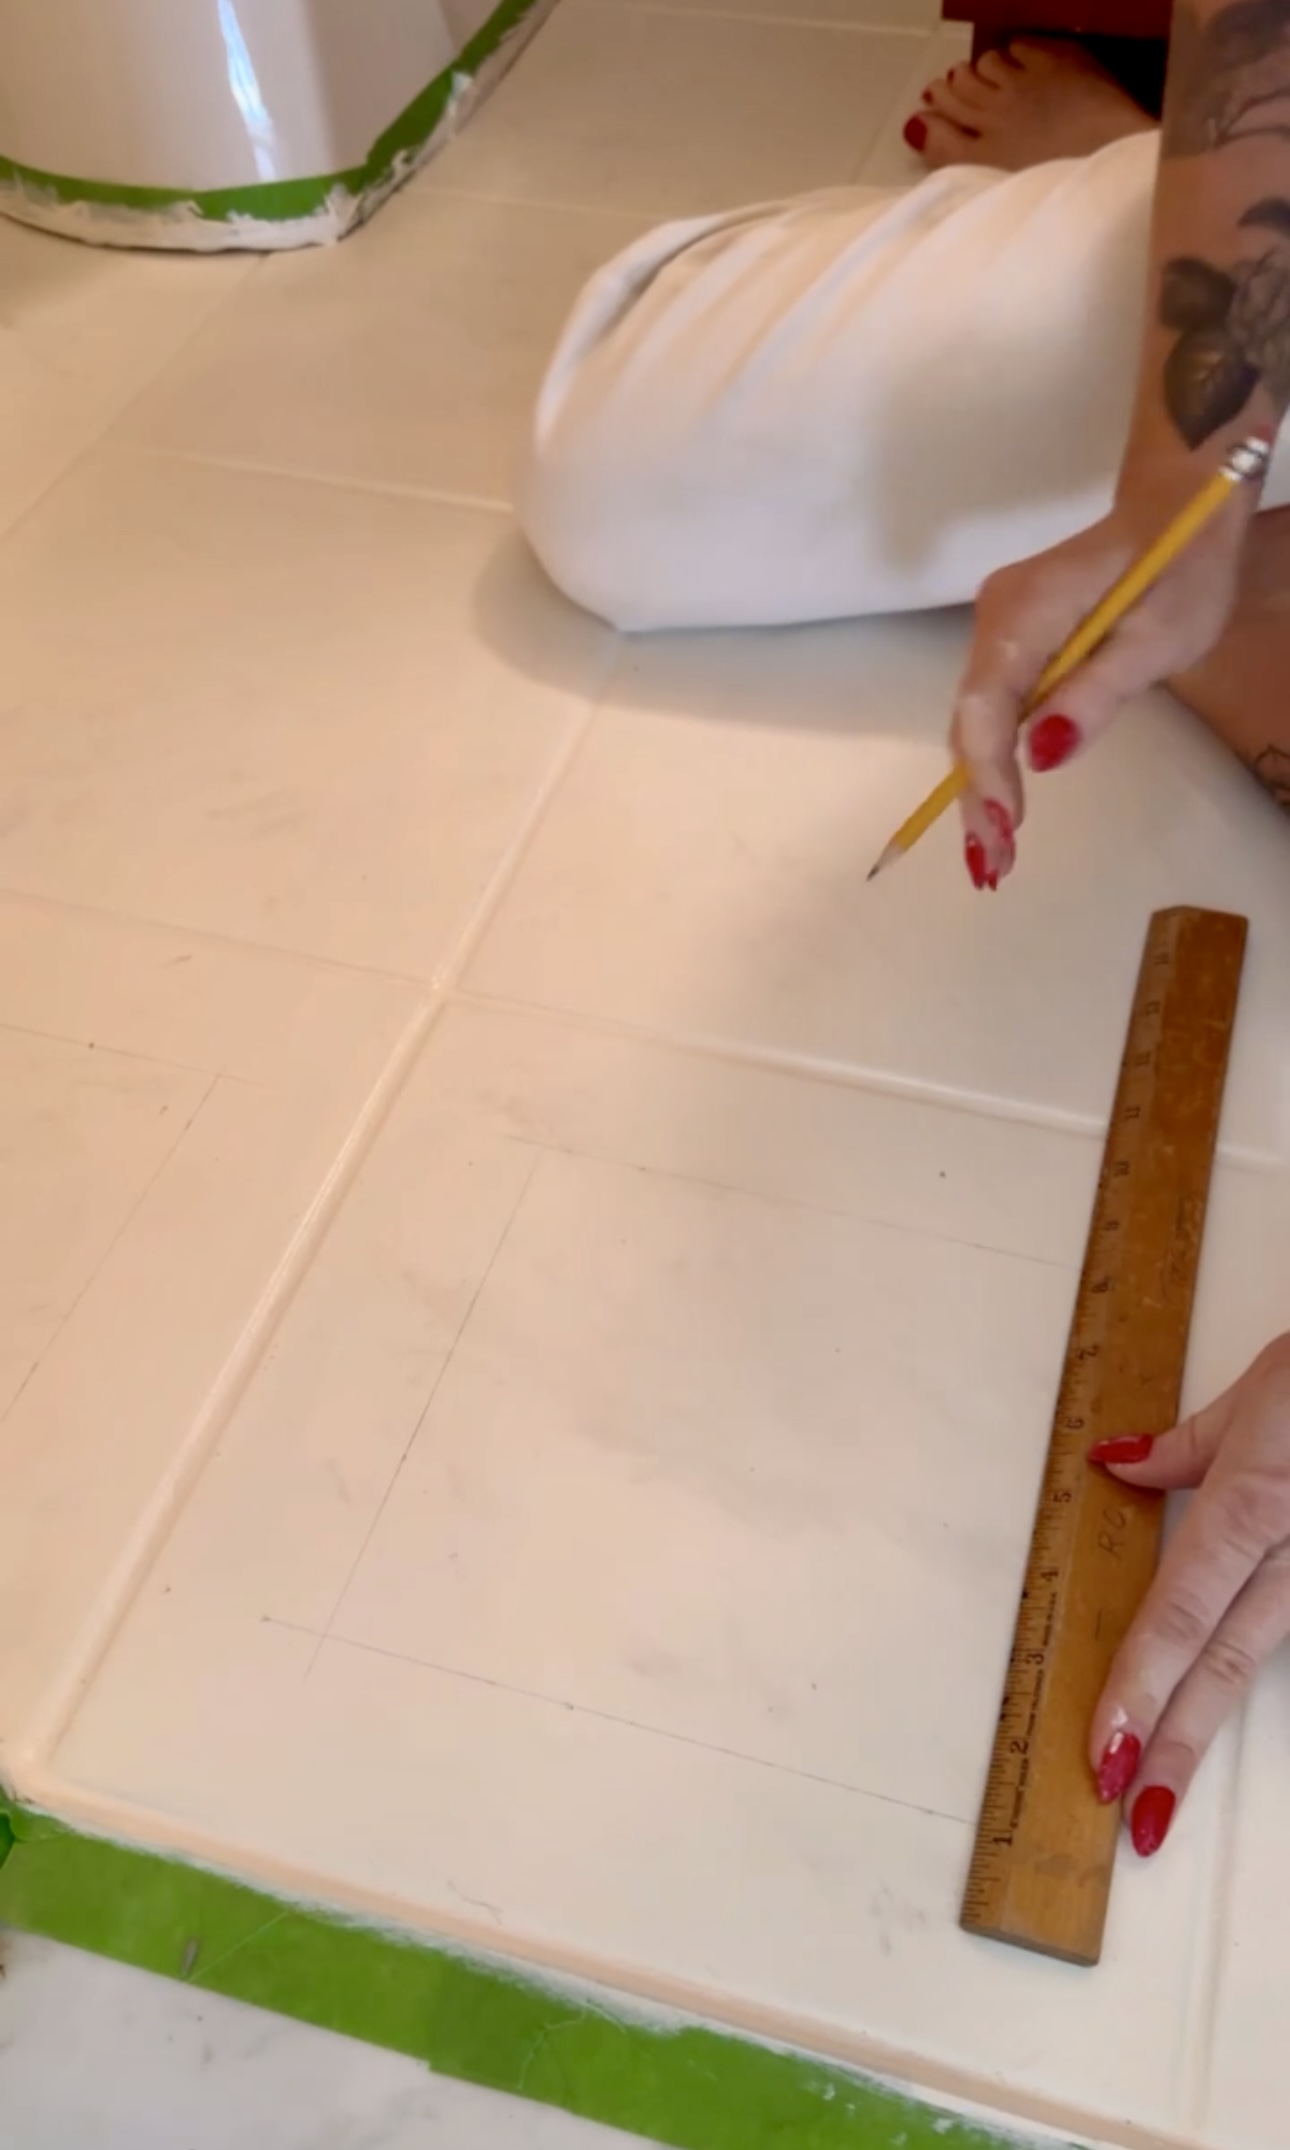
I was SO nervous for this. But once I started, it actually felt super approachable. It needed two coats for sure but I felt pretty good about it so far!
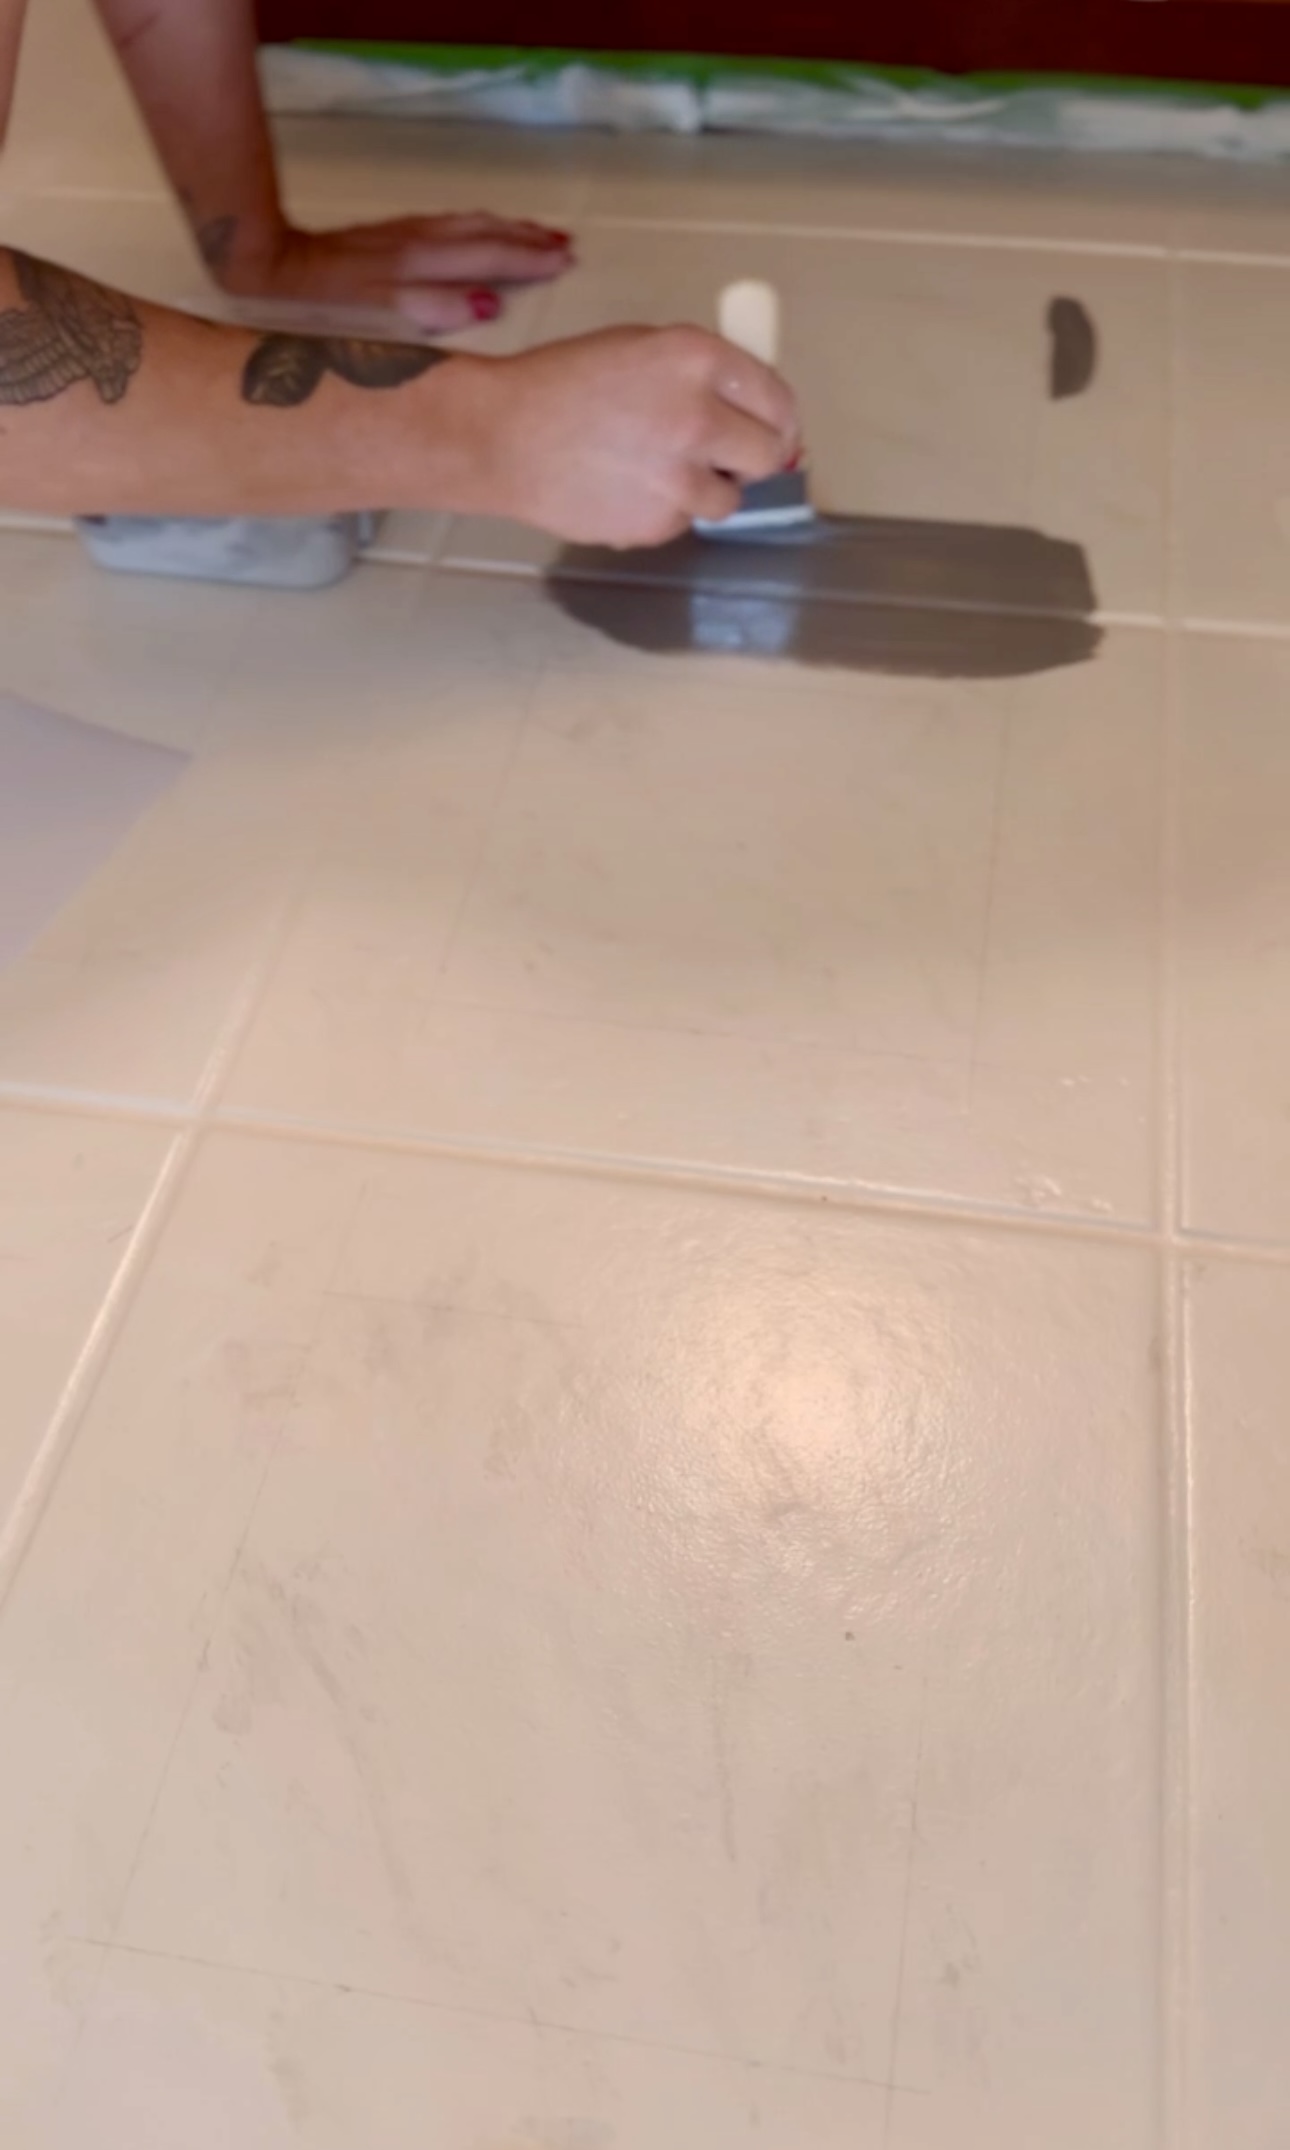
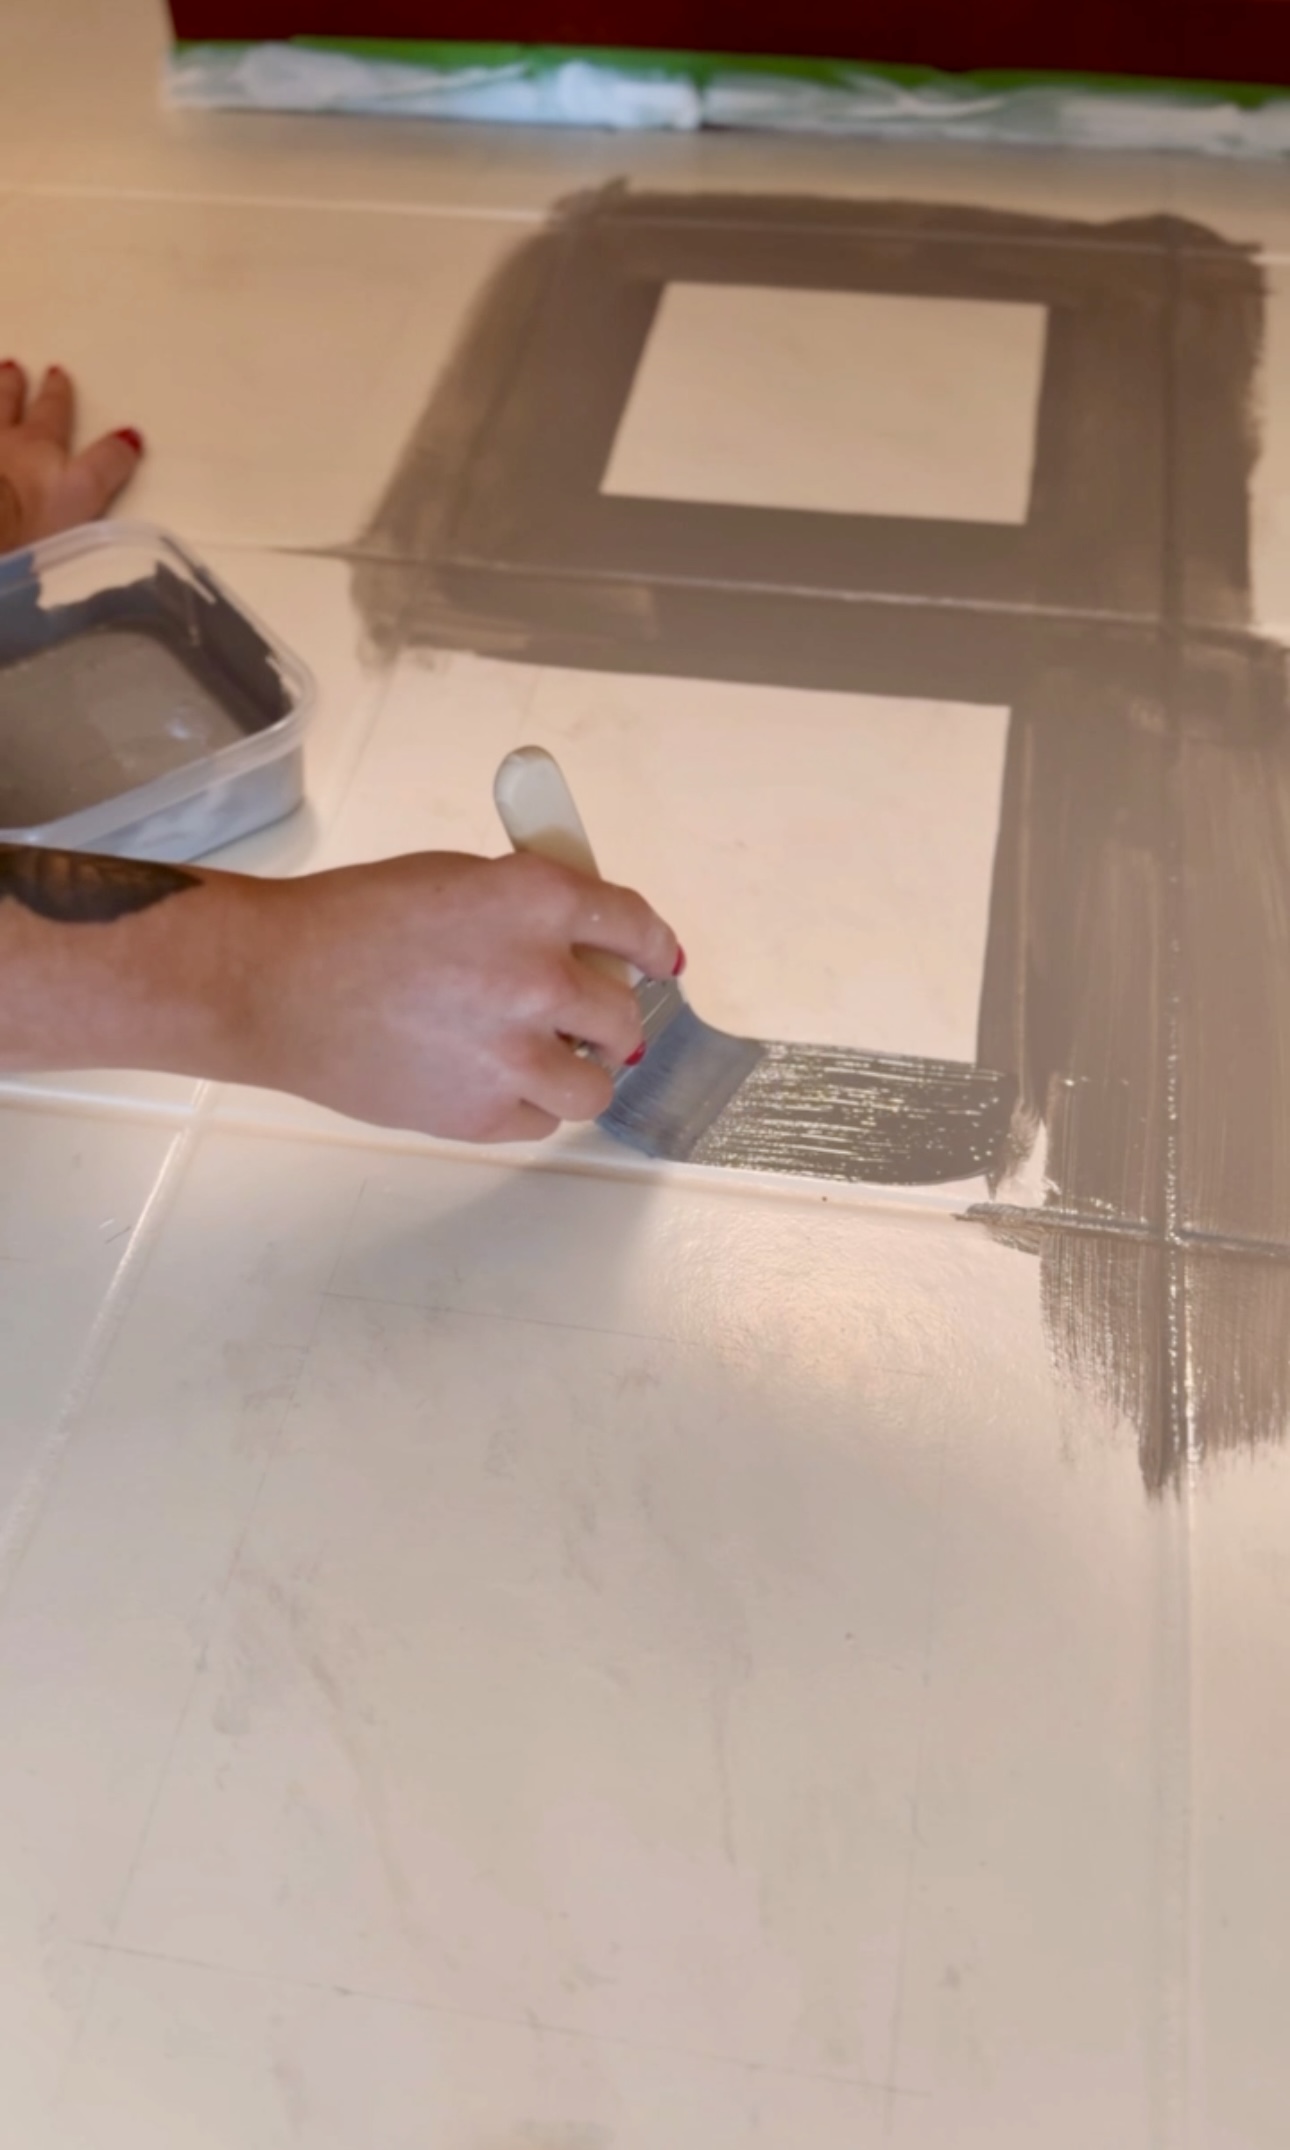
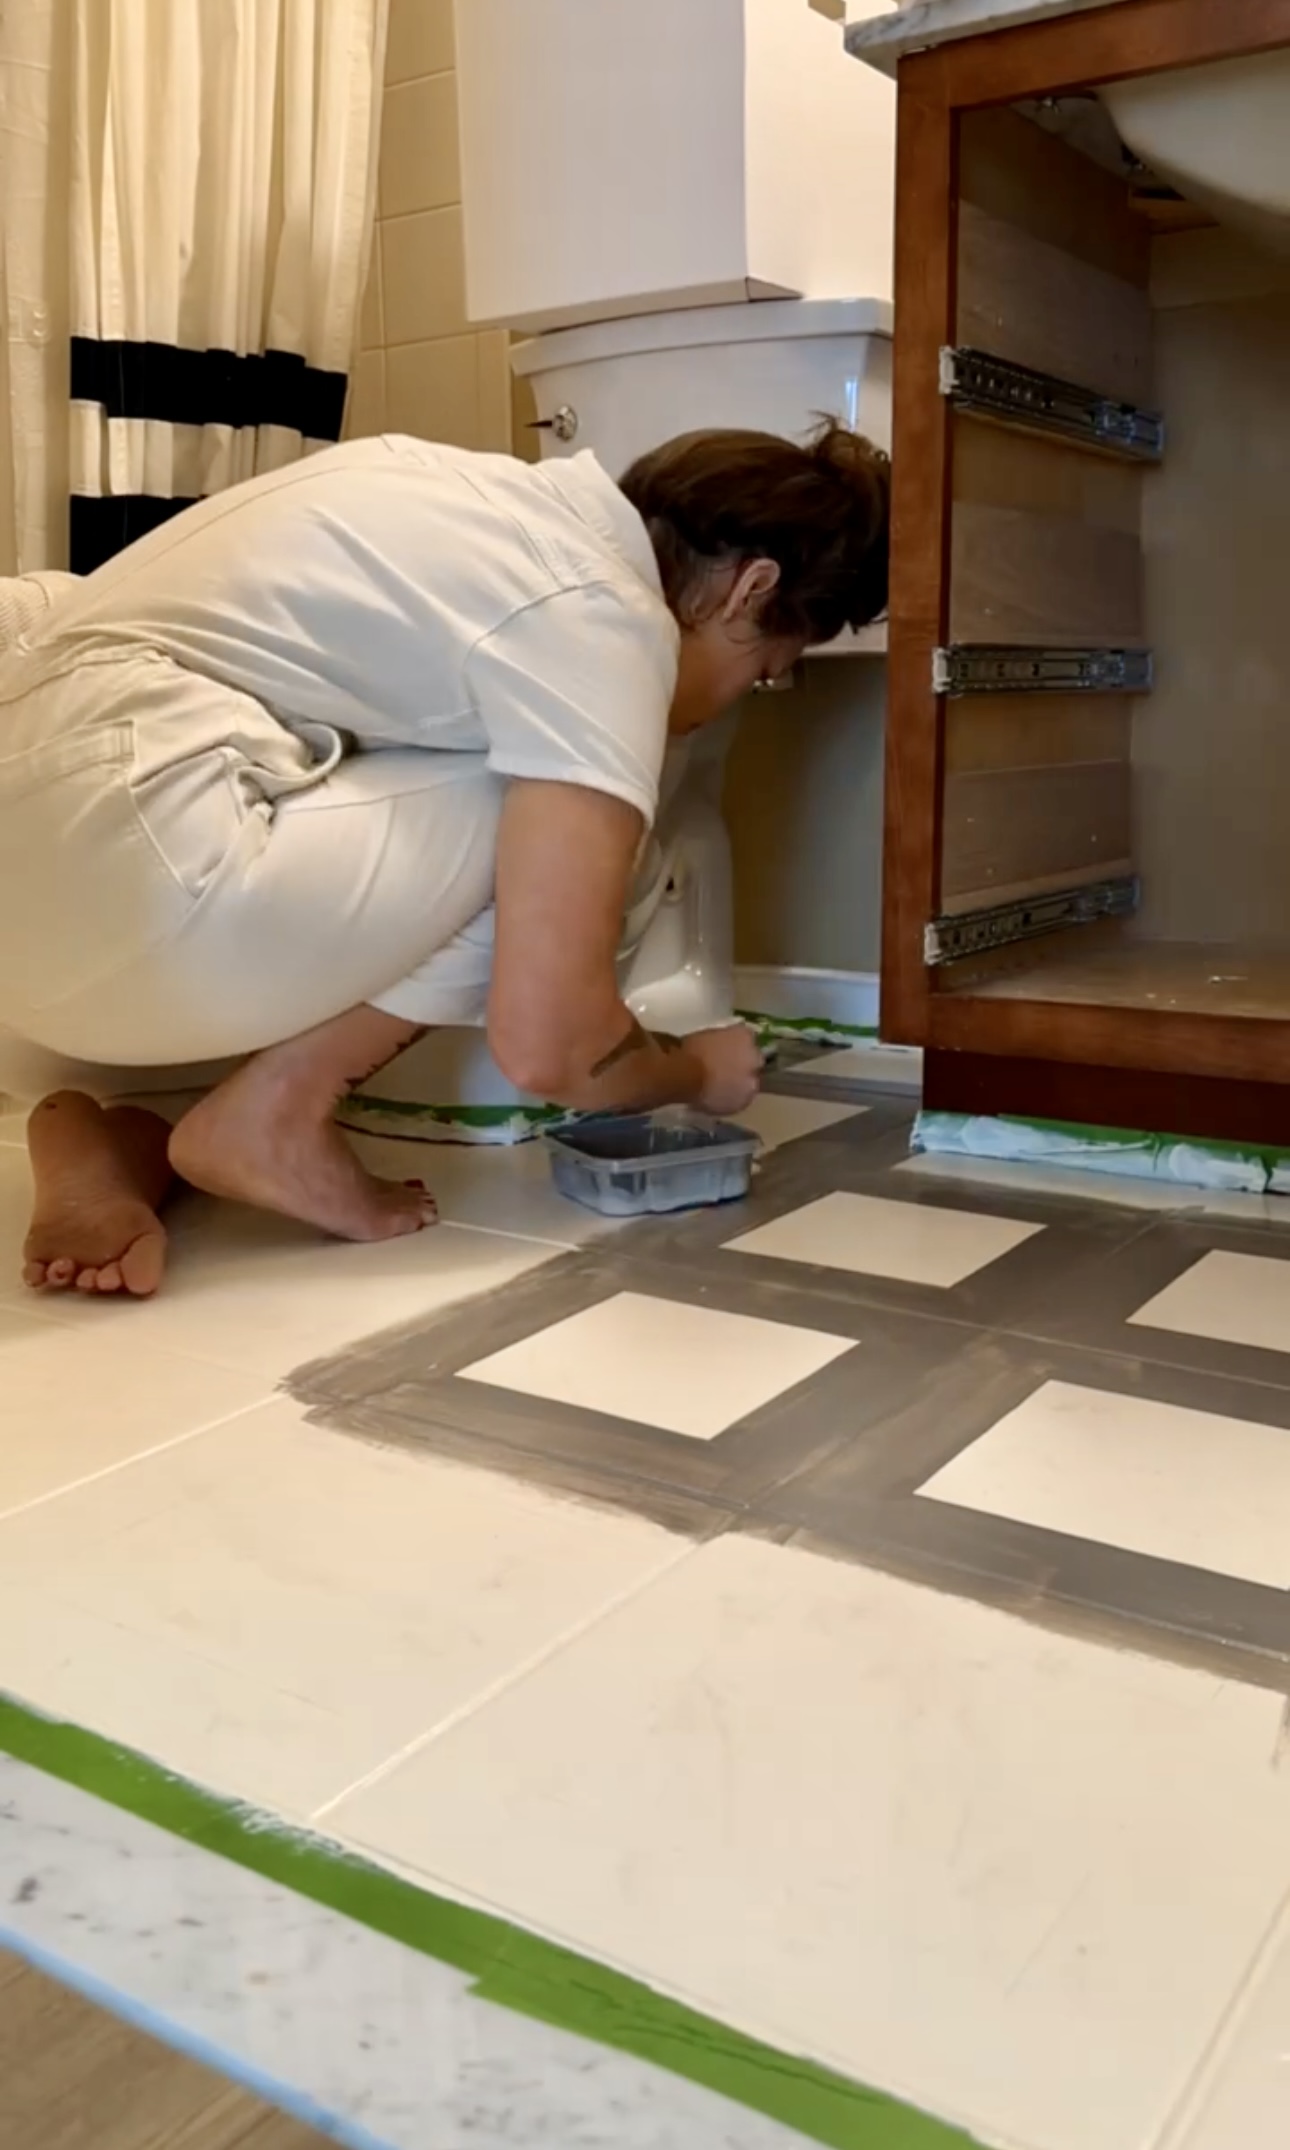
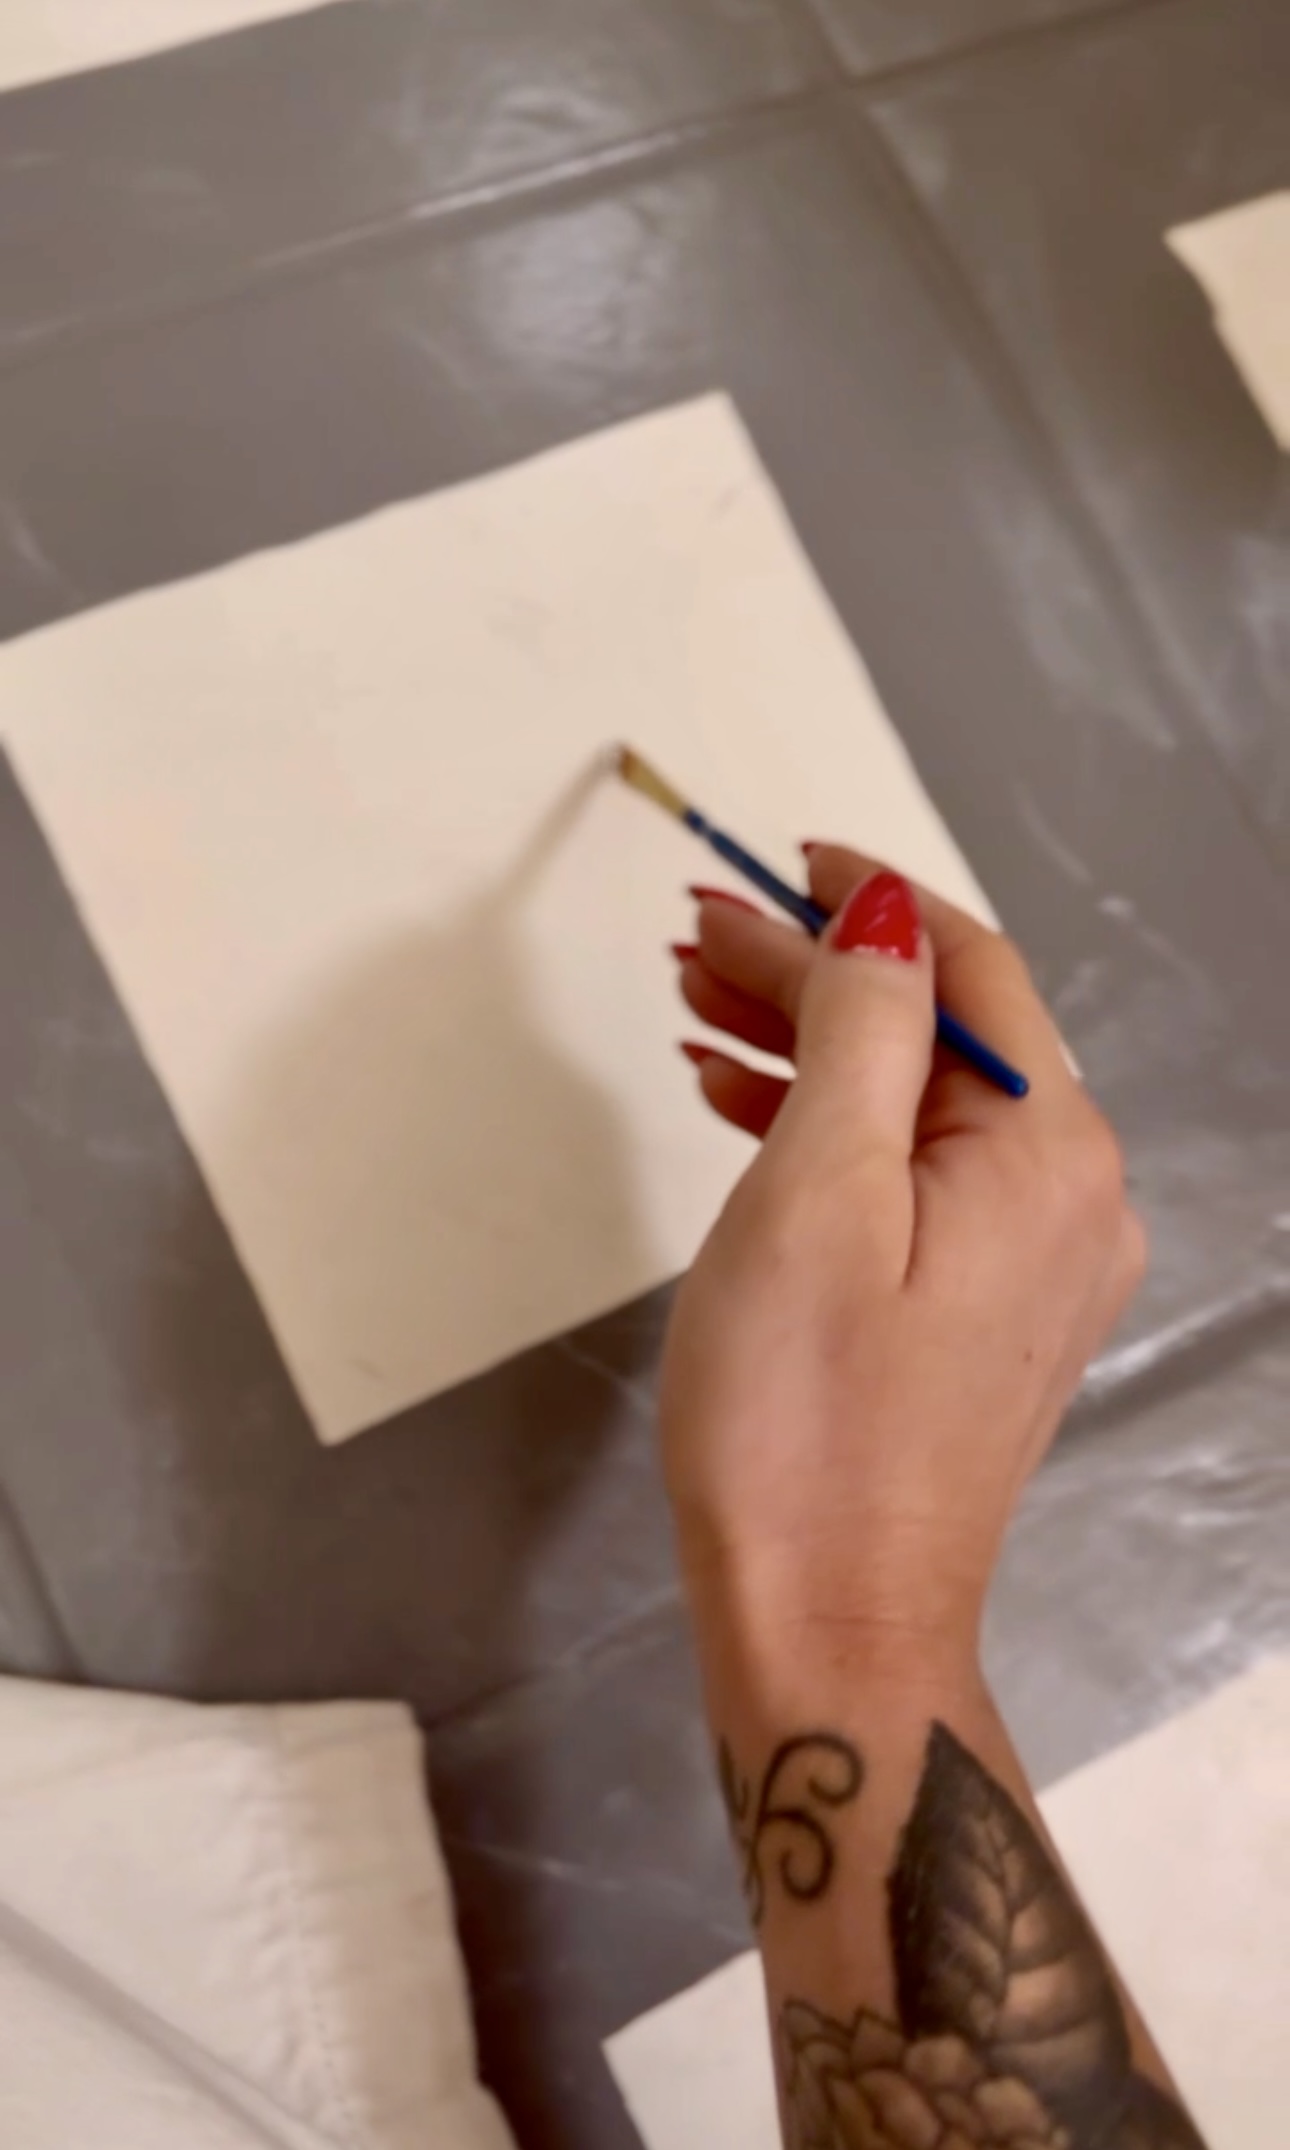
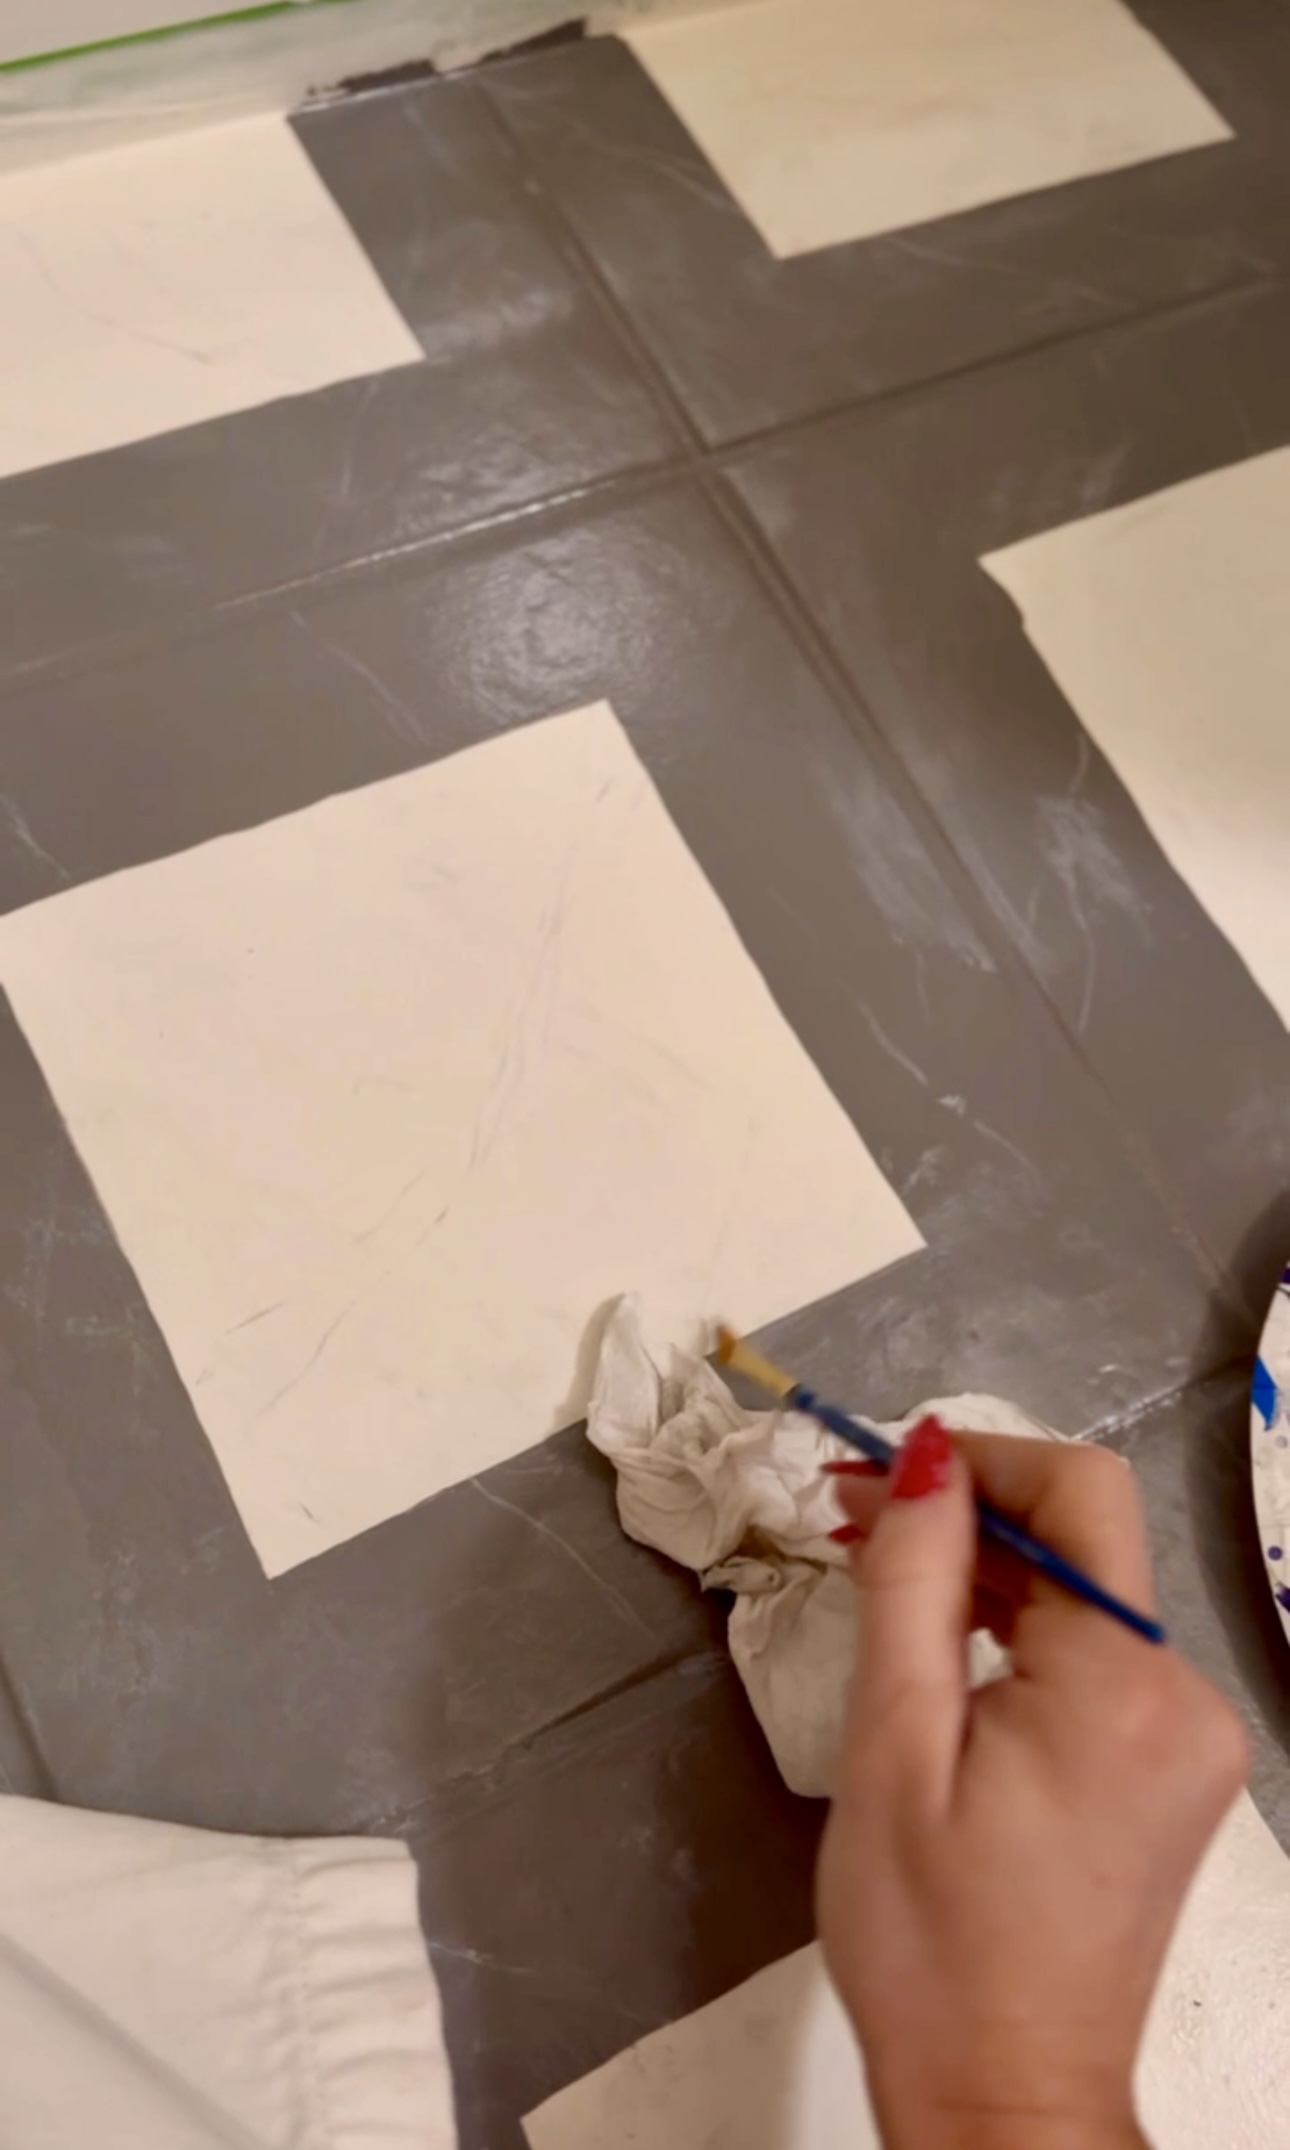
Then I created the same stone effect on the gray but with white! I also used a tiny paint brush to give the subtle veining effect. It was already looking so good.
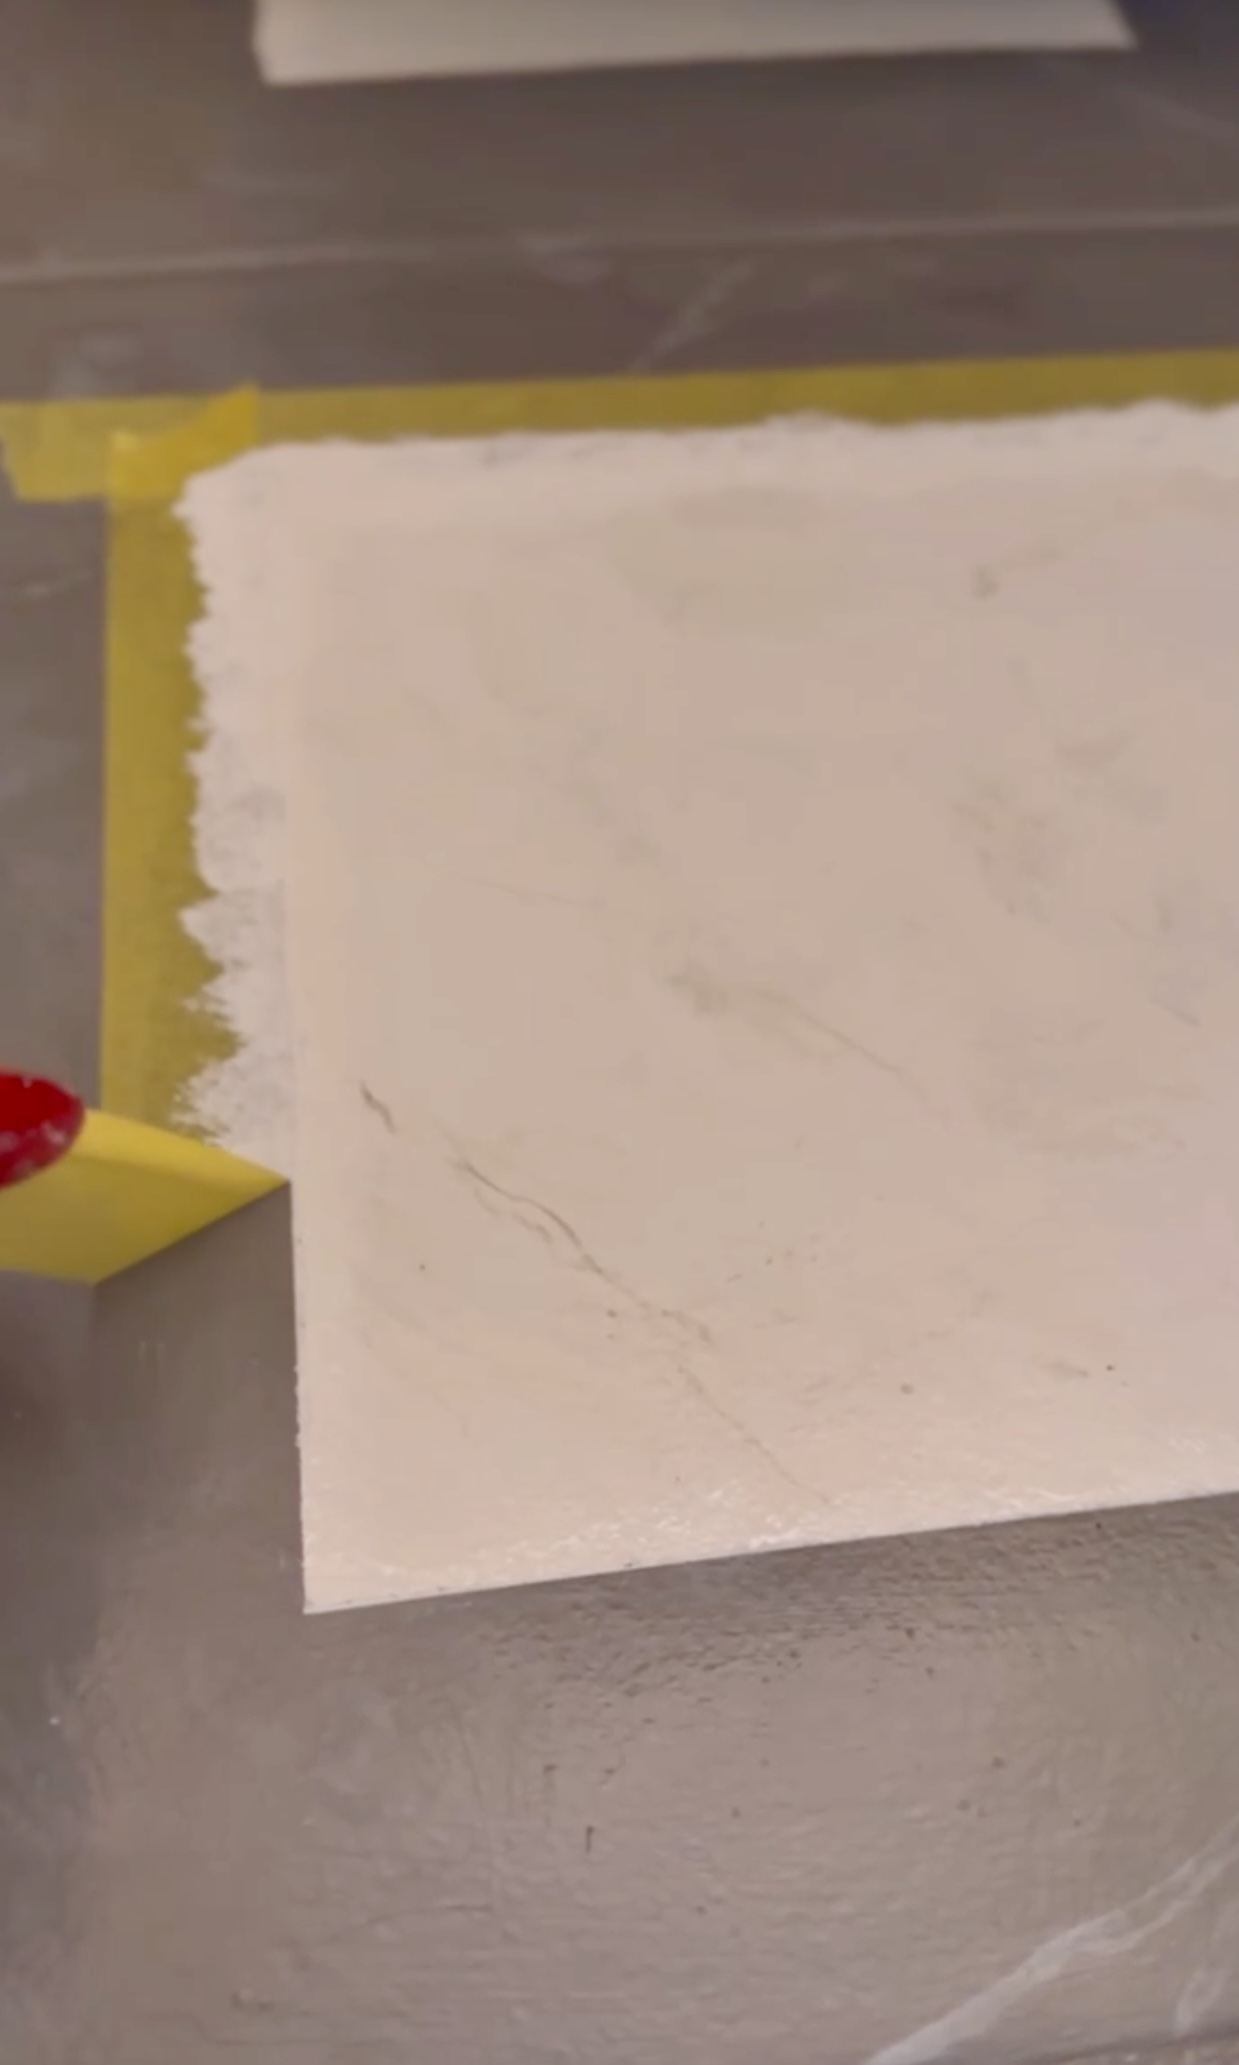
I remembered I had Delicate Frog Tape which is perfect for delicate surfaces like uncured paint! So I used this to clean up my edges for a more crisp line. So satisfying to peel off and see those clean lines.
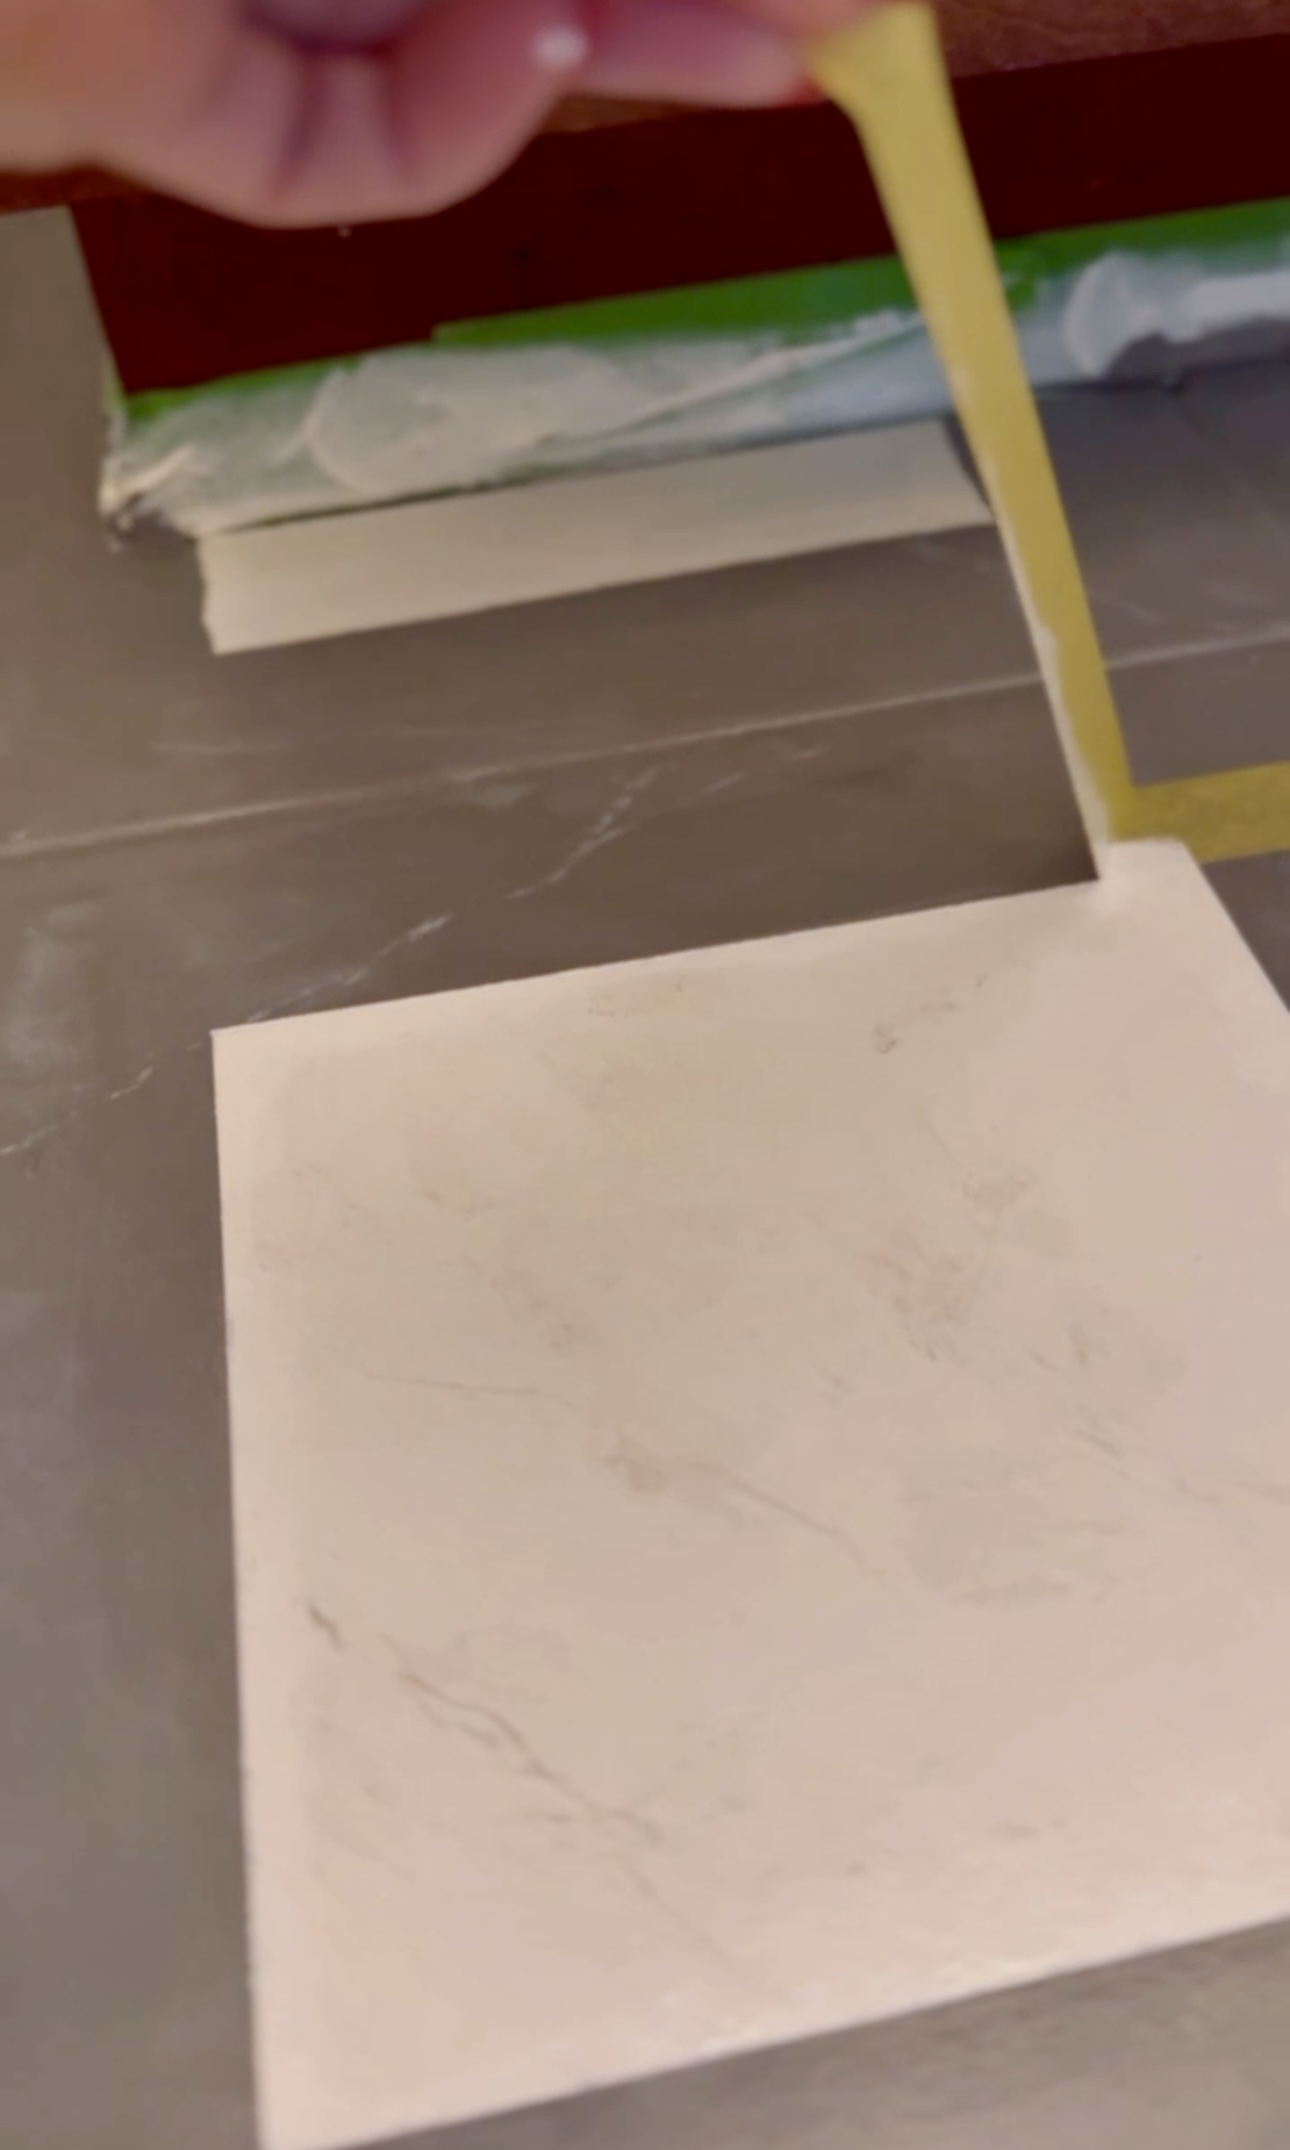
Sealer
Finally, I applied two layers of top coat/sealer. There will be no chipping on my watch👏
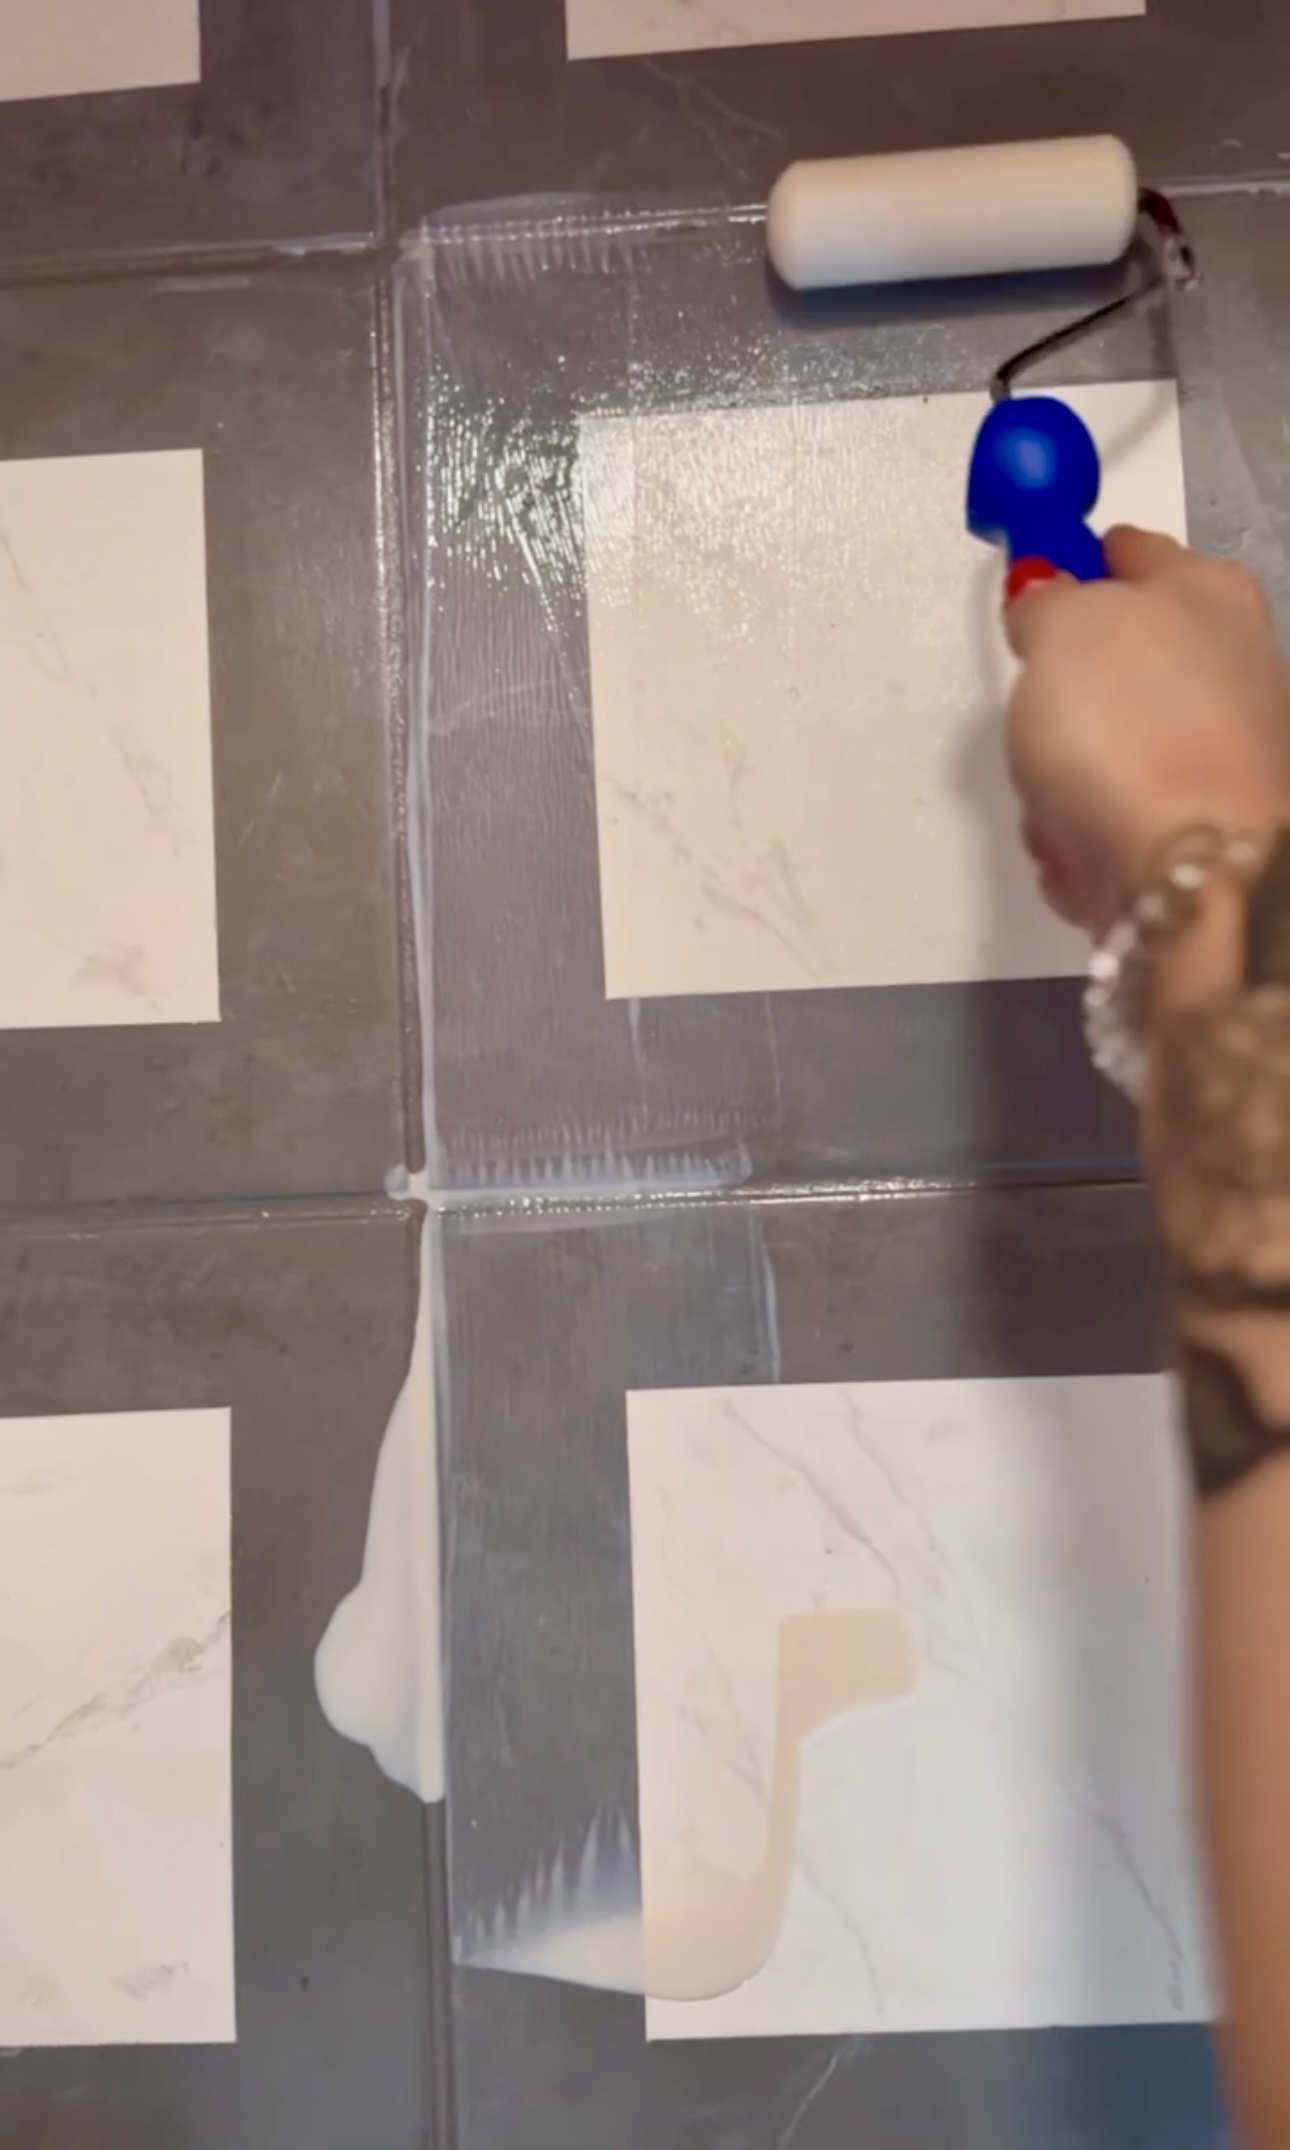
Raise your hand if you were skeptical about this painted tile project 🙈 Honestly, I was too. But, it’s just paint! And I think I did a pretty dang good job making this floor look 10x better but also making it look like my inspiration. My favorite part about this was going with the flow and being messy with it. I was truly jsut letting my sefl be fully creative and enjoyed every second of it!
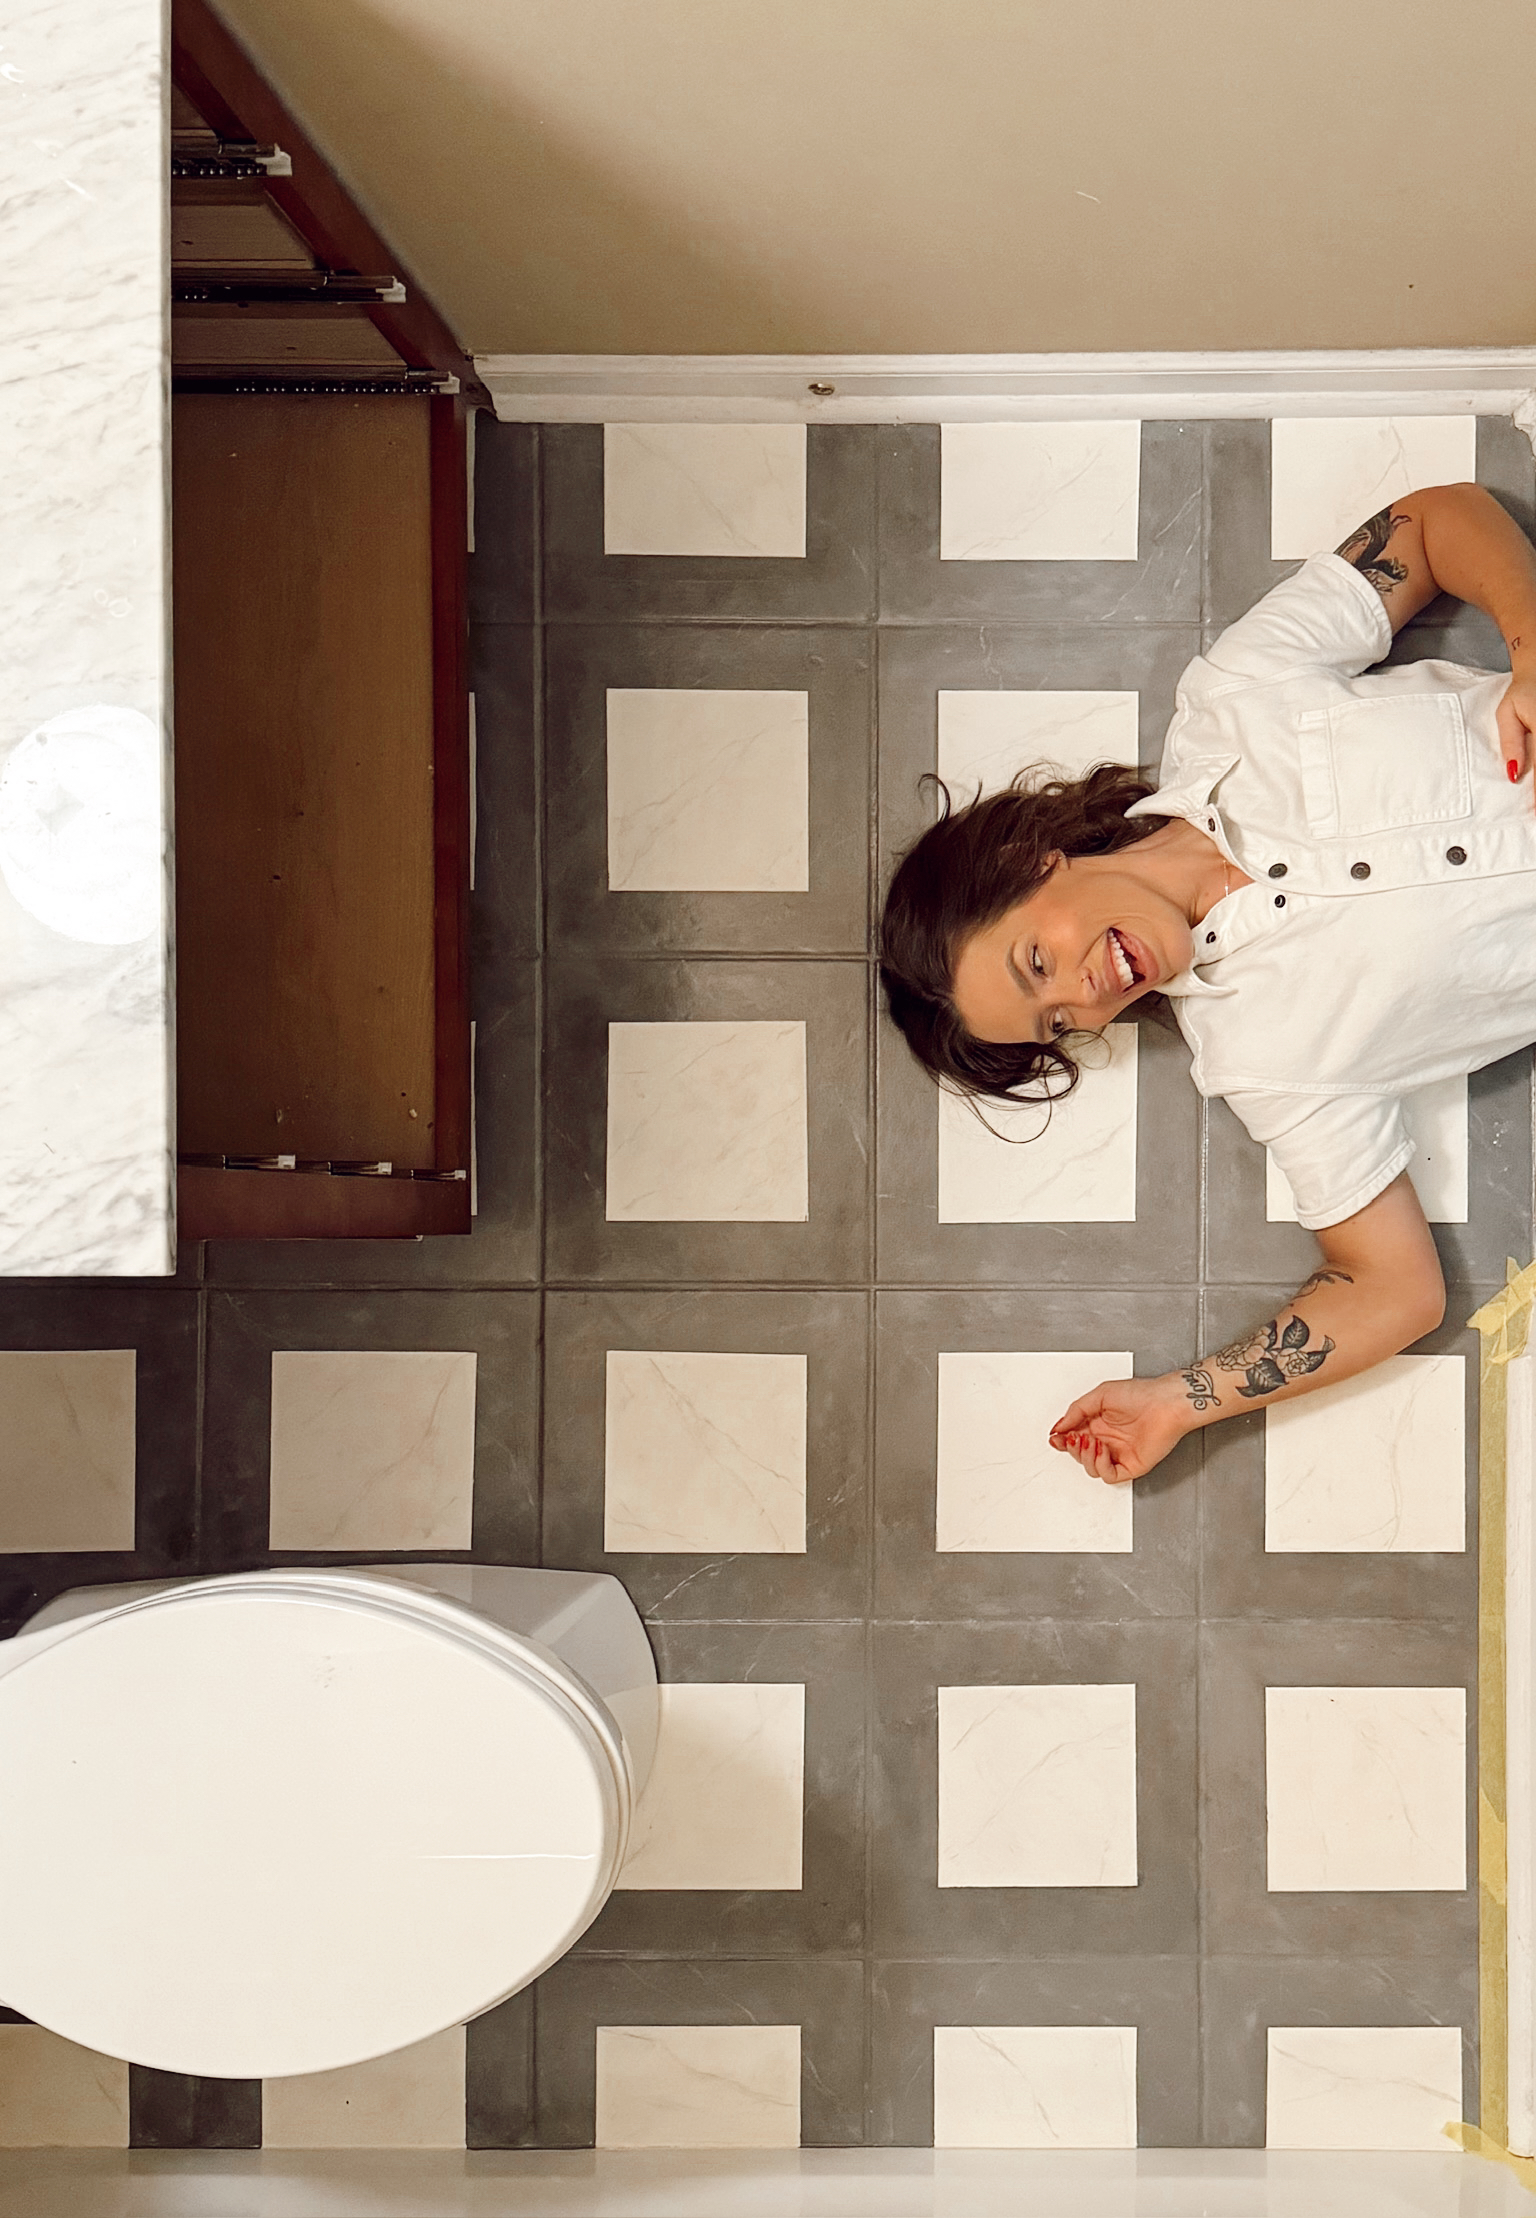
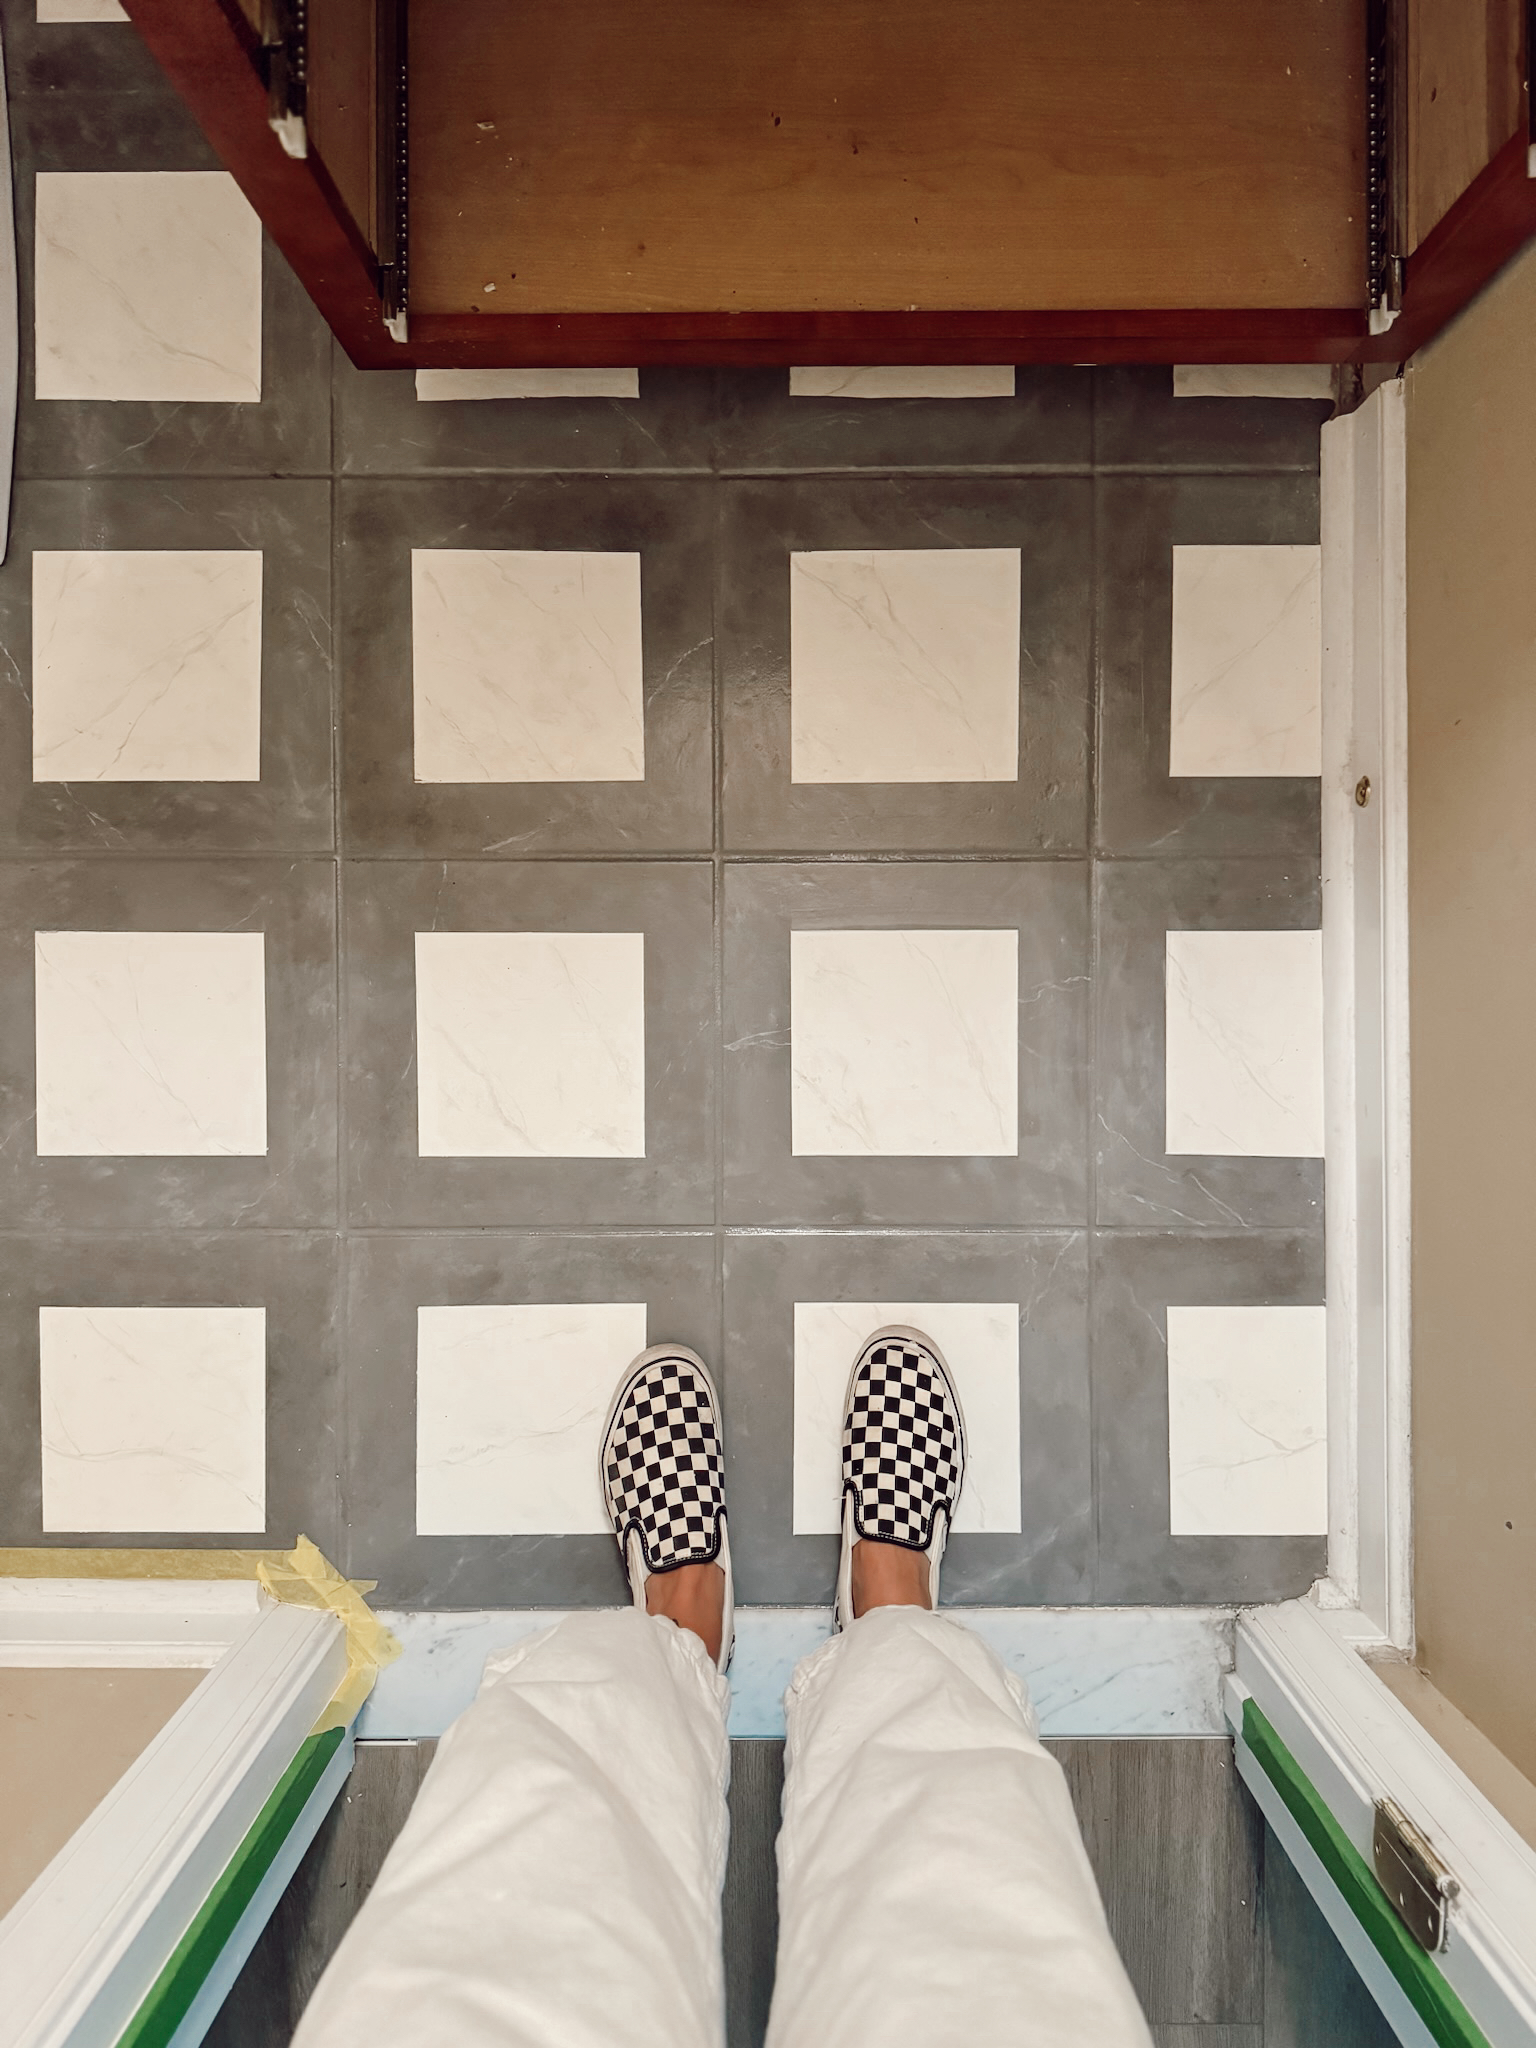
Would you ever paint your tile?!
The last thing to do is paint and install fixtures. Just about done! Stay tuned in my stories for the reveal!
Bravo to you, Cass! This looks fantastic! Never ever would have thought of this and didn’t know about the Dwil paint. Thanks for showing it!
[…] you don’t like the color of a tile floor, wall or counter in your home, do this! (open in same […]
Could you link all the paint/colors you used? Thank you, it looks fantastic.
This looks awesome! Would also love to know the paint colors used.
Wow, that looks so much better! I’m guessing it was pretty time intensive?